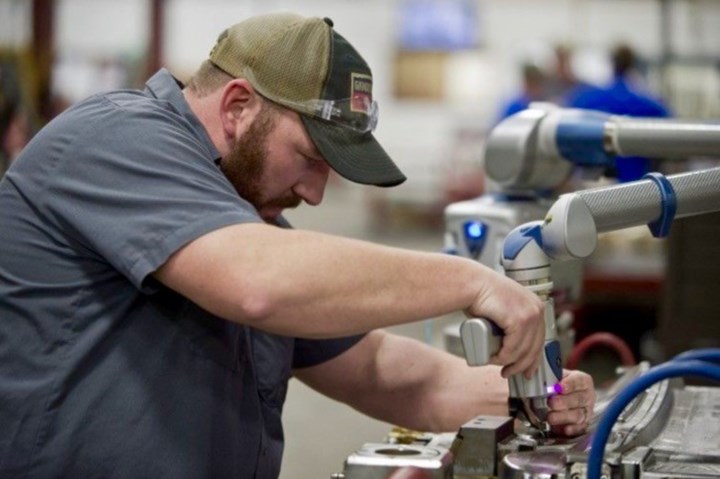
Precise Tooling Solutions uses a FaroArm with surface plates to inspect parts. Photo Credit: Precise Tooling Solutions.
How extensively do you use inspection and measurement technology in your shop, and where or how do you use it most?
Don Dumoulin, president/owner: As an ISO 9000 shop, we have embedded inspection and measurement into virtually all of our operating processes. We do this to ensure that only quality products are manufactured and shipped to our customers. We tailored our technology and offerings to customer needs.
We have an on-site quality lab. This fully contained, environmentally-controlled facility is used by Precise craftsmen to verify and document every tool, CNC project and ergonomic unit we manufacture. Every quality inspection form/report for each project is immediately available in both electronic and hardcopy formats. We maintain detailed inspection procedures, and archive a full complement of project photographs, CAD design files and spec sheets.
Two of our business units use traditional CMM equipment. Our Mold Productivity & Repair unit uses CMM when reverse engineering molds, before and after engineering changes and when tuning foreign-built molds. Our Plate Machining unit uses CMM equipment for spot checks during a project and as part of the final inspection before projects ship to customers. The accuracy and repeatability of our CMM equipment are ensured with frequent recalibration and staying current with the manufacturer’s software releases.
We also use a FaroArm with surface plates to inspect parts, which minimizes cost for our customers and ensures that their parts are checked according to their requirements. The versatility of the FaroArm is key. We can pull it from its stand and then inspect on the machine.
Have you invested in any new equipment recently? If yes, let us know about it.
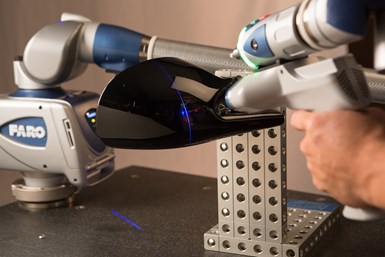
3D measurement arm technology allows mold builders to quickly collect precise 3D measurements for verification of quality during inspections, tool certifications, CAD comparison, dimensional analysis, reverse engineering and more. Photo Credit: FARO Technologies
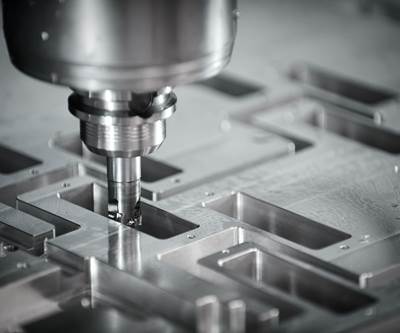
Dumoulin: Our investment in five-axis machining centers jump-started our use of in-process measuring. For example, we now use the probing capability on our five-axis Roeders machine to measure and adjust during the rough cut and finish cut phases. Programming these inspections upfront allows us to complete projects more quickly (and at a lower cost) while still meeting our customer’s tight tolerance expectations.
We will be installing VISI software in late October. VISI is acknowledged as one of the world's leading CAD/CAM software solutions for the mold and die industries. VISI is highly complementary to the ‘in process’ measurement capabilities of our five-axis machines, as it offers a unique combination of applications, fully integrated wireframe, surface and solid modeling, comprehensive five-axis machining strategies with dedicated high-speed routines.
How do you see inspection and measurement technology evolving in the moldmaking industry over the next three to five years?
Dumoulin: We believe inspection and measurement technology will continue to improve as the moldmaking industry evolves. An example we’d cite is an increased use of the 3D visioning systems.
Precise Tooling Solutions is recognized for expertise in building, enhancing and repairing lighting/thermoset molds. Our customer’s increased utilization of LED lighting means we’re dealing with smaller mold cavities and complex geometries. It will need 3D visioning systems and advanced metrology approaches to ensure accuracy and repeatable operation.
Related Content
Machine Hammer Peening Automates Mold Polishing
A polishing automation solution eliminates hand work, accelerates milling operations and controls surface geometries.
Read MoreLaser Welding Versus Micro Welding
The latest battle in finely detailed restoration/repair of mold materials.
Read MoreFour Micro Tooling Considerations
Issues involving gating, ejection, mold splits and direction of pull are of special concern when it comes to micro tooling.
Read MoreWhat is Scientific Maintenance? Part 2
Part two of this three-part series explains specific data that toolrooms must collect, analyze and use to truly advance to a scientific maintenance culture where you can measure real data and drive decisions.
Read MoreRead Next
Snapshot of Why Precise Tooling Solutions is MMT's 2020 Leadtime Leader Winner
Here is a quick look at some of the reasons this small specialty manufacturer took the title this year.
Read MoreAre You a Moldmaker Considering 3D Printing? Consider the 3D Printing Workshop at NPE2024
Presentations will cover 3D printing for mold tooling, material innovation, product development, bridge production and full-scale, high-volume additive manufacturing.
Read MoreHow to Use Continuing Education to Remain Competitive in Moldmaking
Continued training helps moldmakers make tooling decisions and properly use the latest cutting tool to efficiently machine high-quality molds.
Read More


