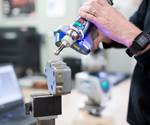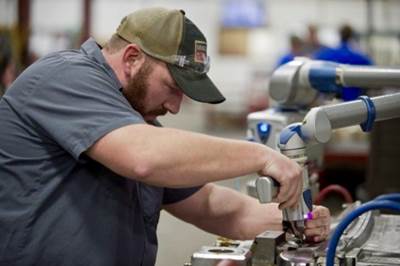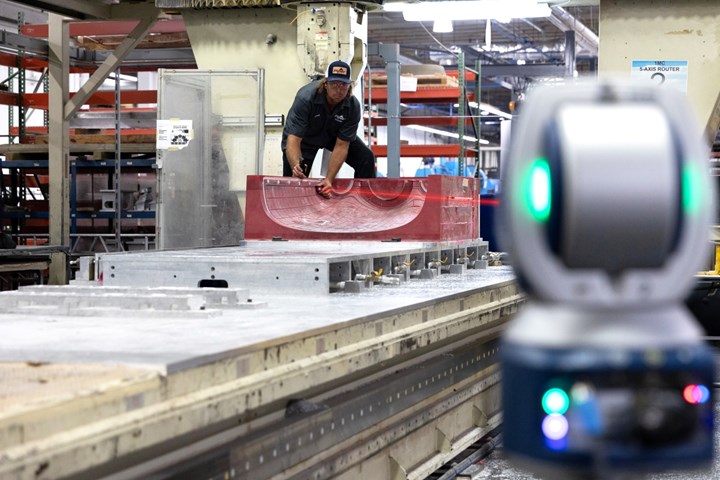
3D measurement tools are available that combine the measurement capabilities of a portable coordinate measuring machine (CMM) with the noncontact functionality of a laser line probe. Photo Credit, all images: Faro Technologies
For any mold builder, mold accuracy is critical. So, the ability to measure dimensional geometries to the highest degree is vital to ensuring quality and customer satisfaction — whether that customer is internal or external.
Measurement devices have improved in leaps and bounds over the years, and mold builders have adapted to the times, going from the use of hand tools to fixed coordinate measuring machines (CMMs). When polishing in the past, workers would have to step away from their place on the shop floor to measure molds on a fixed CMM. This was not only time-consuming, but it also risked human error.
Additionally, as the molds became more complex, so did the requirements of the inspection to ensure that the mold would produce a part that was accurate to the client’s specifications. Whether that was an internal stakeholder or external customer, polishing was and still is a critical area of the moldmaking process where valuable time can be lost.
Another critical task performed during the moldmaking process is reverse engineering. Whatever the reason for the reverse engineering job being done — whether it’s because the part is older and no CAD model exists or because a CAD model for the part does exist, but it’s incompatible with the software the mold designer is using — nearly every mold builder is continually asked to duplicate or reverse engineer parts to keep company throughput optimized.
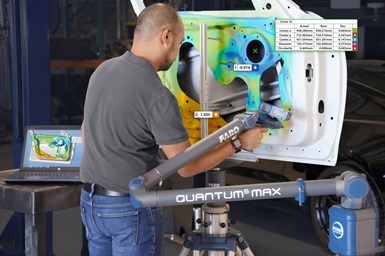
A portable CMM with advanced laser technology will reduce first-article inspection costs for injection-molded parts.
Many mold builders use fixed CMMs for this job. However, there are problems with this approach because of the sheer amount of time it takes. For example, workers must take thousands of points to create a precise 3D model if the part has complex geometries or organic shapes. When this happens, a small reverse engineering job can become a severe bottleneck to a company’s operations, taking hours or even days.
1. Consider a Portable Measurement Option
To alleviate these all-too-common challenges and laborious processes, many mold builders are turning to 3D laser scanning hardware and software solutions to reduce time and costs in their operation. One of these 3D measurement tools combines the measurement capabilities of a portable CMM with the noncontact functionality of a laser line probe.
Put simply, this system can help save time and money because of the speed it allows during polishing and quality control work. Machinists and moldmakers do not have to step away from their work to measure molds on a fixed CMM. And when it comes to using a fixed CMM, a shop often has to share it among a large group of employees. If a moldmaker has to wait in line with their part just to take one measurement, that can seriously slow down overall production times.
Alternately, when using a portable CMM, moldmakers can scan the mold against the CAD model as they polish it. This system also provides the vital stock-condition check before the machining process, ensuring enough surface or material to make the process worthwhile.
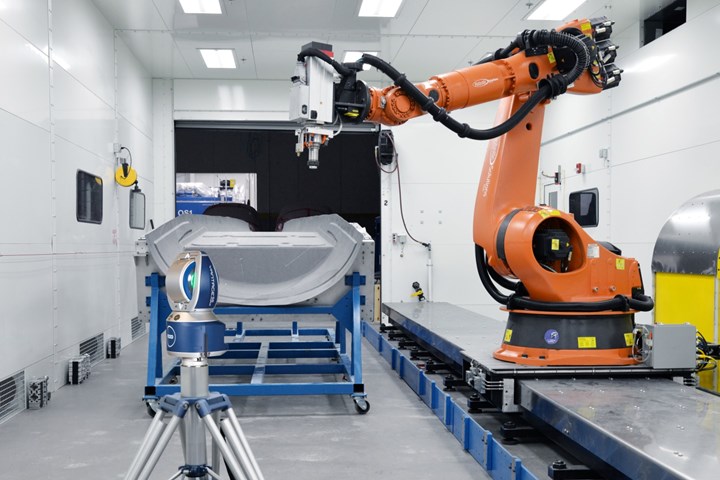
A laser option for large part measurement should provide more coverage in a single pass and collect data faster.
2. Look at Laser Advancements
Reviewing the system in more detail, its noncontact laser line probes can perform a fixed CMM’s work in a fraction of the time, as the end effector and dual kinematic laser line probes (LLPs) work together to emit laser lines that accurately measure the physical features of objects, thus enabling the CMM to capture millions of data points and create detailed 3D models.
The maneuverability of the arm also allows for increased accuracy and versatility in the scanning process by enabling the capture of data from multiple angles and perspectives. Designed to meet a variety of small- and medium-sized measurement needs, the laser line probe has three options to ensure that users are no longer forced to choose between speed, accuracy or resolution.
A portable CMM system provides the vital stock-condition check before the machining process, ensuring enough surface or material to make the process worthwhile.
One probe is suited for high-precision tasks or areas on a part with tight tolerances to capture data with up to 30% better accuracy and resolution. Another offers a balance of resolution and speed, so coverage and accuracy blend for overall productivity. Finally, a third option works best for large parts or expansive surface areas when data collection speed is a top priority; an extra‑wide laser stripe delivers double the coverage in a single pass, allowing users to collect data over 65% faster.
3. Don’t Forget the Software
With its advanced visualization and simulation capabilities, 3D software enables moldmakers to design, test and refine their molds before they even begin the manufacturing process. This saves time and resources and ensures that the final product meets the highest quality standards. Also, 3D software tools help moldmakers quickly identify and resolve potential design issues, reducing the risk of costly mistakes and production delays. With the ability to quickly make changes and update their designs, moldmakers can remain flexible and responsive to changing customer needs, leading to greater efficiency and competitiveness.
Mold builders should take a serious look at their measurement hardware and software options to gain an advantage over the competition. A small mold shop will find it can win business it might have otherwise lost due to time limitations. A portable CMM with advanced laser technology can dramatically reduce first-article inspection costs for injection-molded parts — increasing the amount of new business a shop can take on and complete.
Related Content
Machine Hammer Peening Automates Mold Polishing
A polishing automation solution eliminates hand work, accelerates milling operations and controls surface geometries.
Read MoreThink Safety: Eliminate Hazards Throughout the Shop
The tooling community is taking advantage of new products for safer mold shops and molding facilities.
Read MoreWhat Is Scientific Maintenance? Part 1
Part one of this three-part series explains how to create a scientific maintenance plan based on a toolroom’s current data collection and usage.
Read MoreFour Micro Tooling Considerations
Issues involving gating, ejection, mold splits and direction of pull are of special concern when it comes to micro tooling.
Read MoreRead Next
A 'Quality Without Compromise' Mindset and A Diverse Customer Base Gives Delta Mold More Peaks Than Valleys in Business
Quality-driven processes and focus on diversity in the markets served are key to Delta Mold’s continued success.
Read MoreLeadtime Leader Q&A: Embedded Quality Control
Precise Tooling Solutions shares current capabilities and a glimpse of the changes occurring inside their manufacturing operations when it comes to inspection and measurement.
Read MoreTake Measurement to the Tool
A portable CAM measurement system cuts inspection times by 84 percent, improves accuracy and conducts tooling capability studies.
Read More

