Monitoring Kit Evaluates X-Ray Detector Performance
Nikon Metrology’s Detector Evaluation Package offers automated analysis of image data with performance trend analysis.

All photo credit: Nikon Metrology
Nikon Metrology’s Detector Evaluation Package offers users of Nikon Metrology's X-ray CT systems the ability to process check detector performance throughout service in order to meet stricter manufacturing safety/inspection standards. The kit is particularly ideal for companies that rely on CT to control product quality, or optimize production processes via Industry 4.0 initiatives.
In accordance with the ASTM E2737 standard, the package is available to suit the entire range of Nikon Metrology’s X-ray CT inspection, metrology and large envelope CT systems. All of the manufacturer's X-ray sources are supported, including rotating target technology and the 450kV microfocus source, in addition to a full range of detectors.
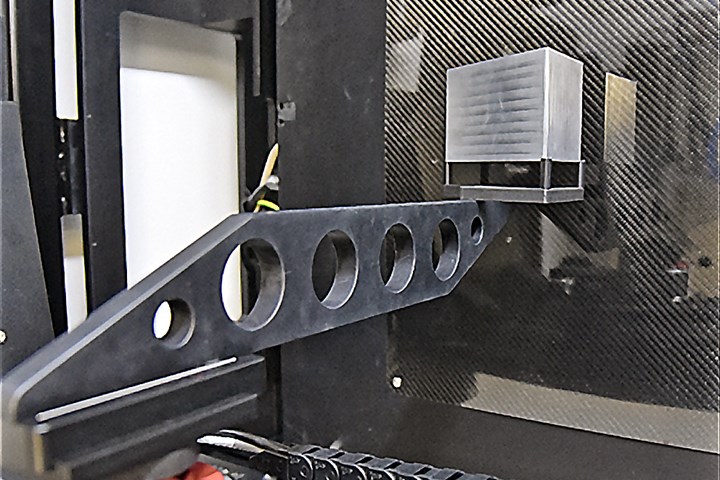
The package comes with a pre-calibrated artefact, the 5-groove wedge phantom, and easy-to-install, customized bracketry with quick-change adapters that allow the operator to secure the phantom in the right positions.

Dedicated software performs all necessary functions, including artefact manipulation, image collection and data analysis. Detailed report creation is automatic and rapid. A streamlined workflow relieves the operator of manual intervention and simplifies the process.
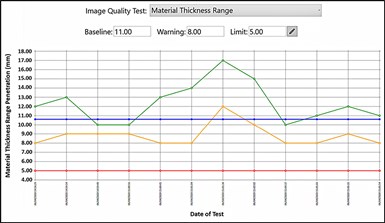
Data is obtained on nine detector parameters: spatial resolution, contrast sensitivity, material thickness range, signal-to-noise ratio, signal level, image burn-in, image lag, offset value and bad pixel distribution.
Long-term performance and stability of the detector can be tracked throughout its service life and its consistency compared with a user-defined baseline and customizable thresholds and warnings. Every time a suite of measurements is made, results from all of the nine ASTM E2737 tests are stored for later access. Visualization is aided via a graphical and tabular presentation.
Related Content
-
Four Micro Tooling Considerations
Issues involving gating, ejection, mold splits and direction of pull are of special concern when it comes to micro tooling.
-
Laser Welding Versus Micro Welding
The latest battle in finely detailed restoration/repair of mold materials.
-
What You Need to Know About Hot Runner Systems and How to Optimize Their Performance
How to make the most out of the hot runner design, function and performance.


