CT Scanner Achieves Precise, Multi-Part Inspections
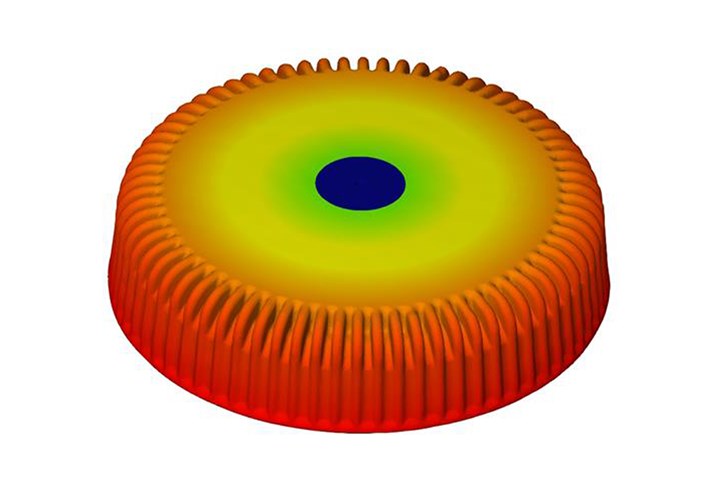
Exact Metrology showcases the capability of its GOM computed tomography (CT) multi-part scanner.

Image courtesy of Exact Metrology
Exact Metrology performed a recent inspection on injection molded caps to showcase the capability of the GOM computed tomography (CT) scanner.
The scanner’s multi-part inspections capability enables the inspection of complex parts based on volume. It is said to produce the finest details visible throughout the component, simplifying initial sampling, tool correction and inspection tasks during production. Further, with its capabilities, it can capture complex components including the "inner workings" in a single scanning process, so that the user receives a complete image of the test specimen for form and position analysis or nominal/actual comparisons.
The GOM CT features a 225 kV X-ray source and a high-contrast 3k X-ray detector that generates a very fine pixel grid (3008 x 2512 pixels), laying the foundation for high-precision detection of the measured components. Five-axis kinematics with an integrated centering table make it easier for the user to position the component optimally in the measuring volume, so that the measurement is always performed with the best possible resolution.
Additional features include temperature balancing for metrology applications, an I/O port and photogrammetric calibration. Within the measuring volume (diameter: 240 mm, height: 400 mm) several objects can be measured simultaneously in one scan, further reducing processing times. Overall, the CT ensures high precision and repeatable measurement results. As with all GOM metrology systems, the control of the device, data acquisition and evaluation are combined in a single software package. This means no additional software is required; the chain from recording the raw data to creating the measurement report is greatly simplified.
Using both the scanner and the software, 30 individual inspection reports were generated on injection molded caps, concluding that the technology eliminates the need for measuring 30 parts individually with conventional methods such as CMM, laser or structured light.
Related Content
-
7 Measurement Innovations Transforming Moldmaking
Smart sensors and sophisticated process and measurement data management are driving intelligent moldmaking to new heights.
-
Technology Roundup: New/Improved Technologies You Don't Want to Miss
With all the technology joining the market, moldmaking is a versatile, ever-evolving industry. As such, this technology roundup has no specific theme — it features a variety of products for applications and solutions across the industry.
-
Quality Control Technologies Geared for Injection Molds
These latest technology solutions, from noncontact gages to test probes and automated inspection systems, aim to minimize production risks and ensure optimal quality control practices for moldmaking.


