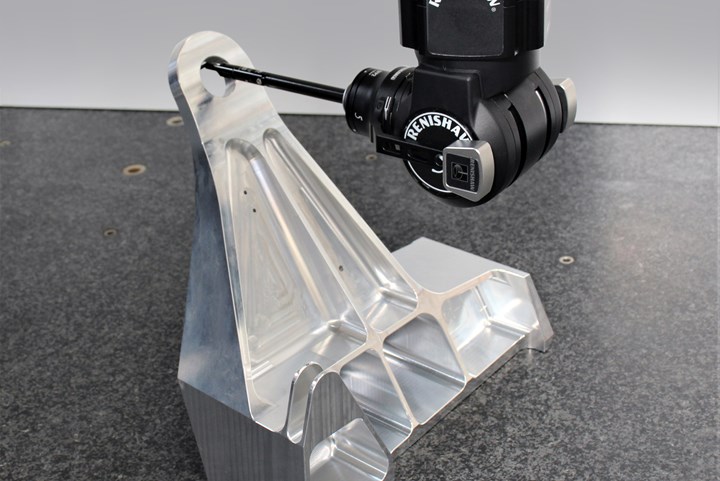
Surface Finishing Probe Accurately Evaluates Workpiece Surface Finish/Roughness
Soon-to-be-released Verisurf 2024 software will feature a Renishaw Revo SFP2 solution to evaluate a surface finish range of 6.3 to 0.05 micrometers.
Verisurf Software Inc. announces a surface finish probing and reporting solution for CNC coordinate measuring machines (CMMs) equipped with Renishaw Revo SFP2 (surface finish probe).
The surface finish probing feature is included in the soon-to-be-released Verisurf 2024, a measurement, reverse engineering and inspection software built on a full-featured 3D CAD/CAM platform with intelligent model-based definition (MBD). Using direct output from the Renishaw REVO SFP2 probe, Verisurf CMM programming can include defined surface finish/roughness evaluation from 6.3 μm to 0.05 μm Ra with results added to automated quality reporting. This is made possible by Verisurf support for Renishaw Revo multi-sensor five-axis probing. Surface finish measurement is fully integrated with the standard Verisurf CMM inspection program and includes automatic changing of probes, based on the inspection plan, which eliminates CMM downtime and maximizes inspection throughput.
The REVO SFP2 works on a variety of surfaces including bores as small as 5 mm (0.196") using a 2, 5, or 10-micron radius diamond stylus tip, and can output Ra, RMS and raw data for further analysis and reporting. When combined with Verisurf the solution is said to provide detailed and accurate data that can be verified against a nominal 3D CAD model, enabling operators to make informed decisions regarding component quality and acceptability.
Verisurf operates Renishaw equipped CNC CMMs through the Verisurf Device Interface (VDI), which supports two-way communications with virtually all sensor types and brands. The VDI sends programmed instructions to operate the CMM and collects measurement data for analysis and processing.
“Depending on the application, many customers can reduce or eliminate the need for dedicated optical and stylus profilometers,” Nick Merrell, executive vice president of Verisurf Software Inc., adds.
Related Content
-
How to Select a Mold Temperature Controller
White paper shares how cooling channel analysis, which collects maximum pressure drop, total flow rate and heat dissipation, eases the performance evaluation of mold temperature controllers.
-
Three Good Reasons to Switch from Three- to Five-Axis Machining in Moldmaking
Five-axis machining technology is a great tool in the moldmaker toolbox.
-
How to Analyze and Optimize Cutting Conditions to Reduce Cycle Time
Plastic injection mold design and manufacturing company puts NC program optimization software module to the test. The results were surprising.


