Just because MMT is a North American publication focused on stories about mold builders primarily in the U.S. and Canada, doesn't mean we can't learn from those in our industry overseas. And this story on how s
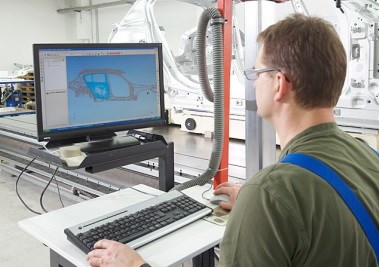
tandardizing inspection on a single software allowed German automotive toolmaker Konrad Schäfer Modell und Formenbau to lower training expenses, offer greater staff flexibility and improve CAD compatibility caught my eye when it came across my desk. Over the past five years, this toolmaker has switched all of its static and portable CMMs and hand scanners to Delcam’s
PowerINSPECT inspection software.
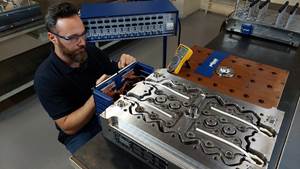
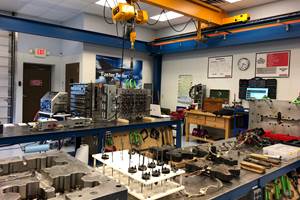
Konrad Schäfer GmbH credits its ability to bring customer ideas to life five to 10 years before they are ready for batch production to its innovative approaches to prototyping by using the newest CAD, CAM and metrology technologies, and having a CMM (stationary manual CMM, CNC CMM or a portable measuring arm) at almost every workstation.
“Metrology is an important part of our core business,” says Herr Große-Beilage That is why the company continually invests in machines and staff training for this area. “Our target continues to be that both measurement engineers and model builders know how to use our metrology systems.” That was also one of the reasons why Konrad Schäfer GmbH started to convert its whole range of metrology machines to a universal software, and invest in Delcam’s PowerINSPECT. The toolmaker currently uses 16 licenses of PowerINSPECT. In 2009, the company purchased two licenses and contracted to buy four additional licenses in each subsequent year.
Deciding factors included its CAD compatibility, as components in all CAD file formats can be inspected with PowerINSPECT; the user-friendly interface with the CAD File Manager that makes it easy to manage component groups; and it offered the best price-performance ratio, according to Konrad Schäfer GmbH.
Portable coordinate metrology is becoming increasingly popular here. Five
Faro Gauge arms are already used, all supported by PowerINSPECT. “Manual measuring arms have the advantage that I can measure quicker than with a stationary measuring machine because I can just measure one zero point and then inspect everything else from top to bottom without adjusting anything,” says Herr Große-Beilage. “But because I’m limited by the part size, the movable stand measuring machine is definitely better suited to a whole car.”
Metrologist Christian Wollbrick agrees that PowerINSPECT’s ease-of-use means that even untrained staff can get started immediately. Also, the ability to define a critical measurement point in advance is very valuable. “This is particularly beneficial with hand-held devices, as it guarantees consistent and repeatable measurements.”
Work on inspection cubes depends on being able to work as flexibly as possible, yet at the same time in a reproducible way with a three-axis CMM. “Test cubes are reference models that simulate the body in white. Subsequent parts that occur in different car types can be built in or attached to them,” explains Herr Große-Beilage. “So you can test in advance, whether they truly fit or check that there are no interfering edges and also if joints and radii are correct. Every manufacturer has different reporting standards but we can implement them really quickly with PowerINSPECT.”
For other inspection/measurement stories, check out our Inspection/Measurement Zone
here.


