Lean Initiative Leads to Automated Metrology Solution
This cell has helped us reduce costs in the electrode manufacturing area—realizing a 26-month return on investment, which makes the justification for another system that much easier.
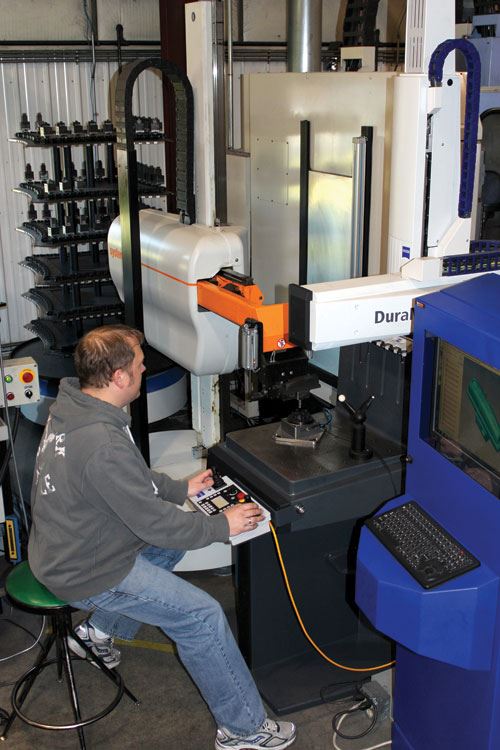
MoldMaking Technology’s 2012 Leadtime Leader Honorable Mention M&M Tool and Mold, LLC (Green Bay, WI) attributes its quick-order turnaround time to the perfect blend of highly skilled technicians and lights-out automation. In order to keep up with customer demands for tighter leadtimes, they needed to improve lean processes in their electrode manufacturing area. They quickly realized a Zeiss CMM would fit right in with their automated production process to achieve this goal.
“We called our new lean initiative The Electrode Manufacturing and EDM Assurance Program,” states Dave Roen, CEO of M&M Tool and Mold, LLC. This new process was needed to shorten electrode manufacturing leadtimes, while also improving part quality and reducing scrap. Quality inspection by the ZEISS DuraMax could be automated, was excellent for the shop floor environment and could compensate for temperature changes up to 10 degrees F. The CMM also allowed them to check tolerances on 3D surfaces, which they couldn’t do with their manual gages.
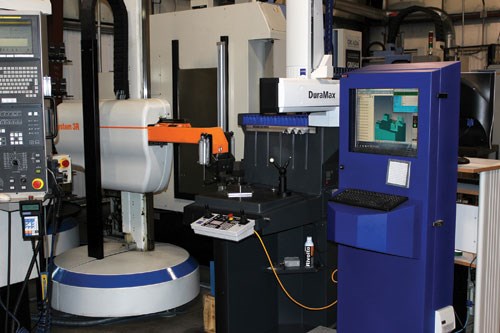
The DuraMax was integrated into an existing automation cell with two Okada machining centers for electrode manufacturing. The inspection process was developed around a “pass/fail” system that compensates for the overburn required on the electrode. In a set of electrodes, there is a minimum quantity of three per set. The DuraMax will measure the first electrode of a set and it must pass inspection before the cell will continue on to the next electrode in that set. If there is a failure, the cell will continue on to the next set and begin the same process. This prevents M&M Tool and Mold from machining multiple electrodes that do not meet the required tolerance. The cell machines and inspects approximately 40 to 50 electrodes per day.
The DuraMax also outputs offset coordinates for EDM burn location. The inspection is done with the “best fit” option in CALYPSO, which essentially fits the actual part geometry to the model geometry. When the software moves the mathematical data, it establishes the new location or “offset data” needed for tool compensation in the EDM. This process was previously done in the EDM, causing substantial downtime.
M&M Tool and Mold has even taken this process to the next level and developed software, which converts the data from the CMM as well as the data from their electrode design to a format accepted by the EDM machine, providing both the EDM program and the tool compensation program. This system has eliminated all manual programming at the machine and removed the potential for human error.
M&M Tool and Mold also uses the DuraMax offline to inspect other parts. When this occurs, the cell continues to machine the first of each electrode set and then queues them for inspection. When the CMM goes back online, it measures the queued sets and catches up to the current production schedule.
Concept Machine Tool worked closely with M&M Tool and Mold to integrate the DuraMax with the automated system. FACS (Factory Automation Control System) was the software development tool kit provided by Carl Zeiss for CMM interfacing. They also collaborated with System 3R, Chip-to-Chip, and GE Fanuc to streamline all of the cell components and data communication.
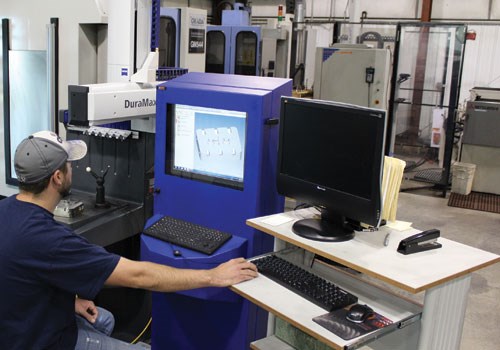
“The CALYPSO metrology software is very user friendly,” says Roen. M&M Tool and Mold purchased its system with a file converter specific to their native files. The geometry converts cleanly and brings all of the inspection points with it. They simply import the geometry into the appropriate template for the specified overburn, extract the points and save it as a program. Only slight modifications are required for retracts and unique probes. M&M Tool and Mold has also purchased the simulation software from Carl Zeiss to eliminate the potential for any crash conditions.
With the success of their automated cell, M&M Tool and Mold is also interested in incorporating the same system in their high-speed machining area. The CMM would be used for workpiece pick up and final inspection. “M&M Tool and Mold’s budget and cost justification criteria for their first system made the solution seem unrealistically good. But once the fully integrated pass/fail system came to life, they realized how real the savings were. “This cell has helped us reduce costs in the electrode manufacturing area—realizing a 26-month return on investment, which makes the justification for another system that much easier,” states Roen.
Since the automated CMM system has been implemented, M&M Tool and Mold has dramatically reduced electrode leadtimes and have essentially eliminated scrap and rework parts. This is a direct result of the ZEISS CMM and the custom application developed by M&M Tool and Mold. Roen concludes, “We have removed potential human error from the inspection process and increased our confidence in the quality of our product.”
For More Information:
M&M Tool and Mold
(920) 336-6474
DaveR@mmtoolandmold.com
mmtoolandmold.com
Related Content
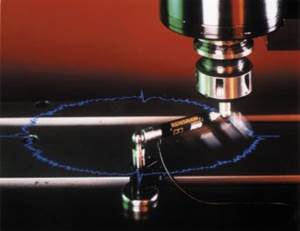
The In's and Out's of Ballbar Calibration
This machine tool diagnostic device allows the detection of errors noticeable only while machine tools are in motion.
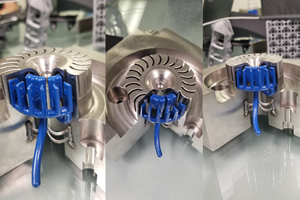
Read MoreLarge Hybrid Steel Insert Solves Deformation, Dimensionality, Cycle Time Problems
DMLS printers using metal additive powders selected by Linear AMS to produce high-quality, accurate, consistent 3D-printed mold components with certification and traceability.
Read MoreOEE Monitoring System Addresses Root Cause of Machine Downtime
Unique sensor and patent-pending algorithm of the Amper machine analytics system measures current draw to quickly and inexpensively inform manufacturers which machines are down and why.
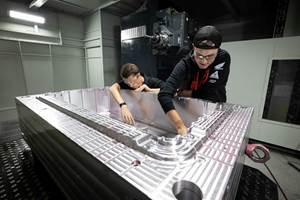
Read MoreHybrid Milling/Drilling Machine Reduces Total Mold Machining Time
MSI Mold Builders now squares, plus drills and taps eye-bolt holes on 50% of its tools in a single setup using a five-axis milling/drilling center with a universal spindle.
Read MoreRead Next
How to Save Time and Money with Faster Measurements
Today’s mold manufacturer is often looking for time and cost savings on many levels. There are solutions—whether it is to reduce development times, accelerate the configuration of entire initial sample test reports or shorten reaction times for damage analyses.
Read MoreHow to Use Strategic Planning Tools, Data to Manage the Human Side of Business
Q&A with Marion Wells, MMT EAB member and founder of Human Asset Management.
Read MoreAre You a Moldmaker Considering 3D Printing? Consider the 3D Printing Workshop at NPE2024
Presentations will cover 3D printing for mold tooling, material innovation, product development, bridge production and full-scale, high-volume additive manufacturing.
Read More
