Magnetic Matters
Understanding the benefits and limitations of different magnetic workholding technologies will help ensure that they are used appropriately and to their full potential.
Magnetic workholding has made moldmakers more efficient on the shop floor, but choosing the most appropriate technology and achieving optimal results requires a deeper understanding of the mechanics, benefits and limitations of the different available solutions. Three of these types of magnetic workholding devices are permanent magnetic, electromagnetic and electro-permanent magnetic chucks.
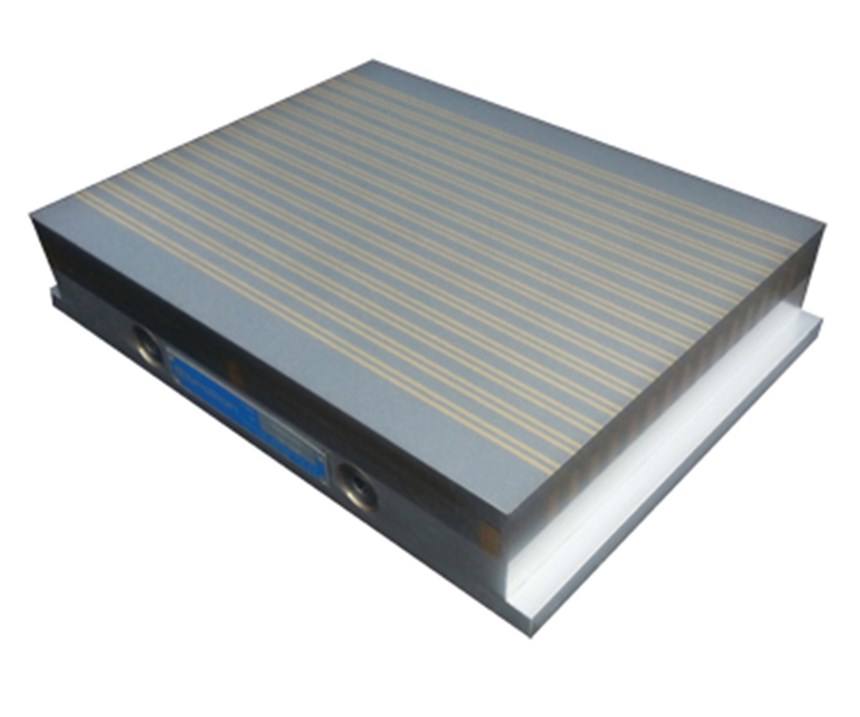
Permanent magnetic chucks. This type of workholding does not require electricity for activation or de-activation, but is instead mechanically activated with a simple lever. The magnets inside the chuck are always active, but when the lever is in the “off” position, the magnetic field is contained inside the chuck. When the lever is rotated to the “on” position, a mechanical grid slides and allows the magnetic field to extend outside the chuck and into the steel part that is being machined. This mechanical control means that a power failure will have no effect on the chuck’s hold on a part. Also, the permanent magnetic chuck does not emit any heat, so the part it is holding will not experience any heat distortion.
There are a few drawbacks to this type of workholding, however. Wear and tear on the internal moving parts and magnets will shorten the life of the permanent chuck, and its maximum size is typically restricted to 40 by 12 inches, primarily because of the great mechanical force that would be required to activate it if it were any larger.
Electromagnetic chucks. Unlike in a permanent magnetic chuck, there are no actual magnets inside an electromagnetic chuck. Instead, a magnetic field is created when an electrical current is applied to a coil wrapped around a mild piece of steel inside the chuck. When there is no electrical current running through the coil, there is no magnetic field.
A benefit of this type of workholding is that there are no moving parts inside, so there is less internal wear and tear. In addition, the magnetic field height and the holding force of the chuck can be fine-tuned by applying more or less power. A disadvantage of an electro-magnetic chuck, however, is
that constant power is needed in order for it to hold the part, and this constant power can overheat the chuck and cause heat distortion of the parts. Also, a power failure will cause such a chuck to release a part, potentially causing an accident.
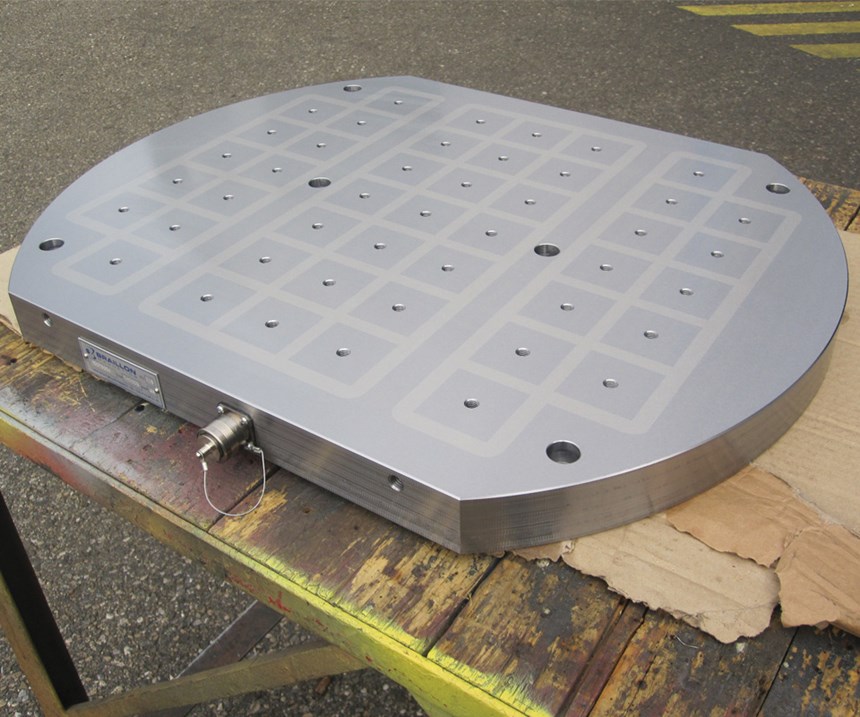
Electro-permanent chucks. This is a mix of permanent magnetic and electromagnetic technologies. The inside of an electro-permanent chuck contains actual magnets composed primarily of alloys of aluminum, nickel and cobalt (alnico), as well as a coil that is wrapped around those magnets. A one- to two-second programmed electrical impulse sent into the coil will magnetize the alnico magnets, enabling the chuck to hold the part. With a reverse impulse, the alnico magnets become completely inactive, allowing full demagnetization of the parts being machined.
Some electro-permanent magnetic chucks also will contain additional neodymium magnets to increase holding force. These neodymium magnets cannot be fully demagnetized, however, leaving residual magnetism in the part. These chucks are more specifically called compensated electro-permanent systems.
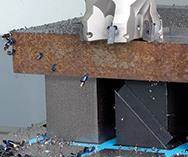
The primary benefit of using electro-permanent chucks in moldmaking is that they provide full access to the five sides of a mold. Because the part is magnetically clamped to the chuck, there is no need for vises that might get in the way of the tool path and require multiple workholding setups. These chucks allow for face milling, edge milling and even through-drilling in one setup.
Additionally, electro-permanent chucks do not require a constant power source to maintain activation, so the absence of power cords allows for full range of motion during machining with a moving or swivel table. Power is only needed for the two-second impulse that either magnetizes or demagnetizes the chuck. The chuck holds the part even during a power failure, and it remains cold, so there is no heat distortion of the parts. And, like the electromagnetic chuck, there are no moving parts inside, eliminating internal wear and tear.
Naturally, with every pro comes a con. Electro-permanent chucks are more expensive than electromagnetic and permanent magnetic chucks, and their magnetic fields and power can be difficult to fine-tune. This is because the strength of electro-permanent chucks increases in irregular steps, unlike electromagnetic chucks, in which the increase in strength relates directly to how much power is running through the coils.
Usage Considerations
Mold builders could easily overlook the impact of magnetic fields and residual magnetism in EDM applications, however.
Magnetic fields. Not all magnetic chucks are made equal, in that they each are manufactured specifically for a variety of different applications, such as milling, grinding, EDM and even turning. For an EDM sinker application, for example, a chuck with a low magnetic field is recommended.
Although magnetic clamping is very efficient in terms of setup time, it is not uncommon to hear a moldmaker report that particles stick to the workpiece when a particular magnetic chuck is used on a sinker EDM. The chuck’s magnetism prevents particles from being easily flushed away, and this can negatively impact mold finish and cause pitting on the surface of the part. In cases like this, a chuck that was inappropriate for EDM applications was used.
It all boils down to the chuck’s magnetic field height. The closer the magnetic field is to the work surface, the more particles will stick to the workpiece. The height of the magnetic field is defined by the pole pitch, which is the distance between the two magnetic poles. It is calculated by adding the width of a steel pole and the width of an airgap, which can be made of any non-magnetic material, including brass, stainless steel or even a hard resin.
For example, a milling chuck will have a large pole pitch of at least 15 mm. That includes 3 mm for the airgap and 12 mm for the magnetic steel pole. This will allow for a high-arching magnetic field height of 10 mm. This is great if you are milling a part and need a strong magnetic holding force. However, that same milling chuck would not be appropriate for an EDM application. For EDM, a good magnetic chuck would have a pole pitch of only 2 mm (a steel pole of 1.5 mm and 0.5-mm airgap). This will allow for a low-arching magnetic field of only 3 to 4 mm—enough force to hold a part during the EDM process without magnetically disturbing the particles created during the process.
A magnetic chuck with a low magnetic field is also ideal for precision grinding of small and thin parts. It can even be swapped between a sinker EDM and a surface grinder. A good rule of thumb for using a magnetic chuck for milling or grinding is to keep the magnetic field height close to the thickness of the part. For example, a part that is 5-mm thick should take a chuck with a field height of 3-4 mm. Using a chuck with a magnetic field height of 10 mm to hold part that is only 5-mm thick will not take advantage of the full potential of the magnetic field, and the holding force will be reduced.
Residual magnetism. Also known as remanence or remanent magnetization, residual magnetism is the magnetization left behind in a ferromagnetic material after an external magnetic field is removed. For example, imagine you just finished milling a mold on a new magnetic chuck, and that mold is now ready for some final details that can only be handled by the EDM process. If you milled the mold using a magnetic chuck that did not have a full demagnetization cycle, you might be left with unwanted residual magnetism that could affect some of the EDM finish work. The magnetic field of this residual magnetism can affect the spark erosion process and cause pitting on the surface being worked.
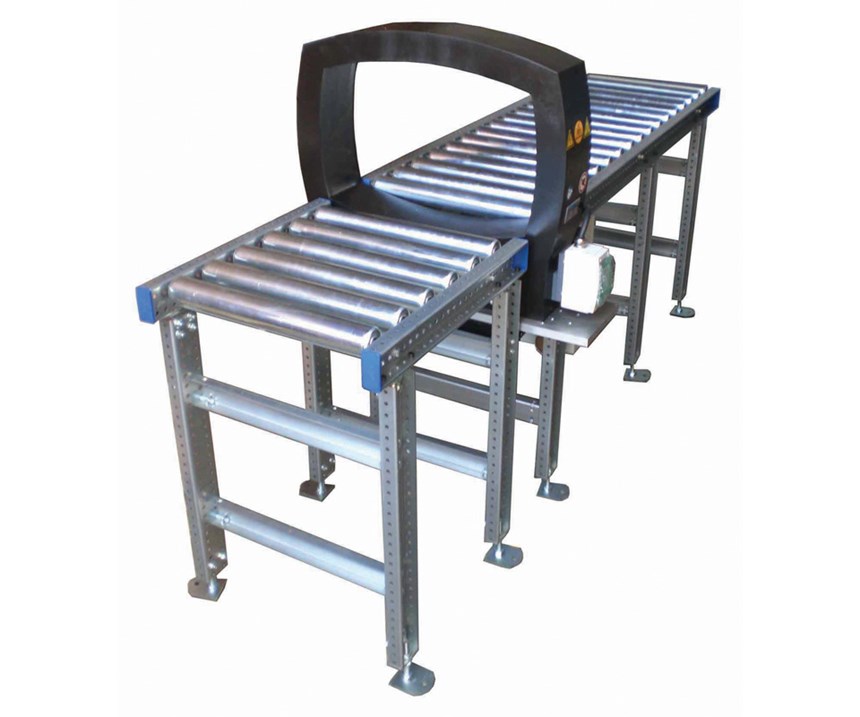
The solution for this problem is a demagnetizer that produces an alternating and decreasing magnetic field, which then removes the residual magnetism from the mold. A good option is a tunnel demagnetizer (see image) with rollers that move in and out of the tunnel. Depending on the mold’s size and shape, the demagnetizer may need to be used a few times to get the best results possible. A teslameter can be used to measure magnetic field strength. The goal is to reach a value close to 0 Gauss (a Gauss is a unit of magnetic induction equal to one ten-thousandth of a tesla). A good practice after running the mold through the demagnetizer once is to then turn the mold 90 degrees and run it through again, as this will randomize the direction of the dipoles in the steel and help reduce magnetism.
Results will vary depending on the mold’s size, shape and steel type. The larger the mold, the more demagnetizing it will require. Very large molds might require an additional frequency generator to penetrate deeper. Plus, the harder the steel type, the less magnetic it will be.
A demagnetizer tunnel may not be a viable option for molds larger than 750 by 500 mm, however, for the simple reason that molds that large won’t fit through the tunnel. In such cases, another option is a hand-held demagnetizer or a magnetic chuck that can run a full demagnetization cycle after milling has been completed. However, hand-held demagnetizers can be very difficult to handle and, if used incorrectly, they can actually magnetize a part. To avoid this, the hand-held demagnetizer should be moved across the mold at a slow and constant speed.
Of course, magnetic workholding solutions aren’t limited to the three described here. The world of magnetics is always evolving, and great advances already have been made in the manufacture of lifting magnets, workholding magnets, filtration systems and magnetic quick-mold-change technology.
Related Content
Leading Mold Manufacturers Share Best Practices for Improving Efficiency
Precise Tooling Solutions, X-Cell Tool and Mold, M&M Tool and Mold, Ameritech Die & Mold, and Cavalier Tool & Manufacturing, sit down for a fast-paced Q&A focused on strategies for improving efficiencies across their operations.
Read MoreSolving Mold Alignment Problems with the Right Alignment Lock
Correct alignment lock selection can reduce maintenance costs and molding downtime, as well as increase part quality over the mold’s entire life.
Read MorePredictive Manufacturing Moves Mold Builder into Advanced Medical Component Manufacturing
From a hot rod hobby, medical molds and shop performance to technology extremes, key relationships and a growth strategy, it’s obvious details matter at Eden Tool.
Read MoreTips for Tackling Mold Design, Machining, Cutting Tool and Wear Challenges
Tips for tasks ranging from reducing risk in part design and taking advantage of five-axis machining to refining cutting tool performance and reducing wear with guiding and centering systems.
Read MoreRead Next
May the Force Be with You
Unlocking the true potential of magnetic workholding for machining mold bases and inserts lies in understanding clamping and machining forces.
Read MoreAre You a Moldmaker Considering 3D Printing? Consider the 3D Printing Workshop at NPE2024
Presentations will cover 3D printing for mold tooling, material innovation, product development, bridge production and full-scale, high-volume additive manufacturing.
Read MoreHow to Use Strategic Planning Tools, Data to Manage the Human Side of Business
Q&A with Marion Wells, MMT EAB member and founder of Human Asset Management.
Read More





.jpg;maxWidth=300;quality=90)


