How to Set Accurate Manifold Preventive-Maintenance Frequencies, Part 3
The only thing that can mess up a solid PM plan for a manifold is a poorly designed system, and there are a variety of manifold designs and complexity levels. Many design features are the root cause of postponing a manifold PM until it breaks down.
The August issue’s article on manifolds and preventive maintenance (PM) explained the impact of environmental factors on manifold performance. This piece focuses on the impact of five non-maintenance-friendly manifold design features that our repair technician students shared. They claim that these features complicate manifold PMs to such a level that the technicians would rather wait until the manifold breaks to repair it.
Valve Pins and Piston Components
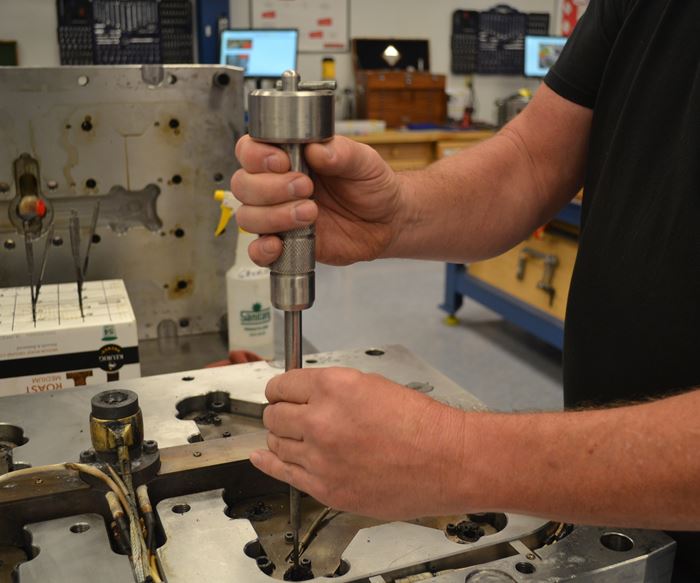
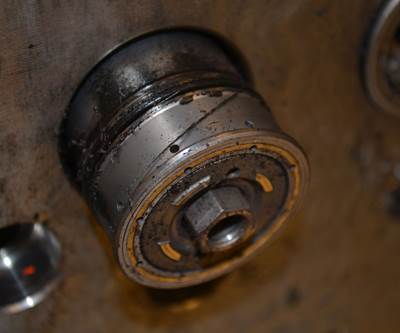
Technicians usually remove the valve pins and piston components first so that they can gain access to the manifold. Some systems have as many as 10 components per position, comprising the piston-cup assembly (not including the seals), which technicians must carefully remove and place in a holder or tray so as not to damage or mix up the position of the fragile tips.
A huge time-saver is a system design that only requires the technician to remove the valve pin to split the mold, as the piston housing components can remain in the plate. For a 16-cavity tool, this can save four to eight hours and several dollars in O-rings or seals (and much more if the components are particularly difficult to reinstall).
A huge time-saver is a system design that only requires the technician to remove the valve pin to split the mold, as the piston housing components can remain in the plate.
Wiring
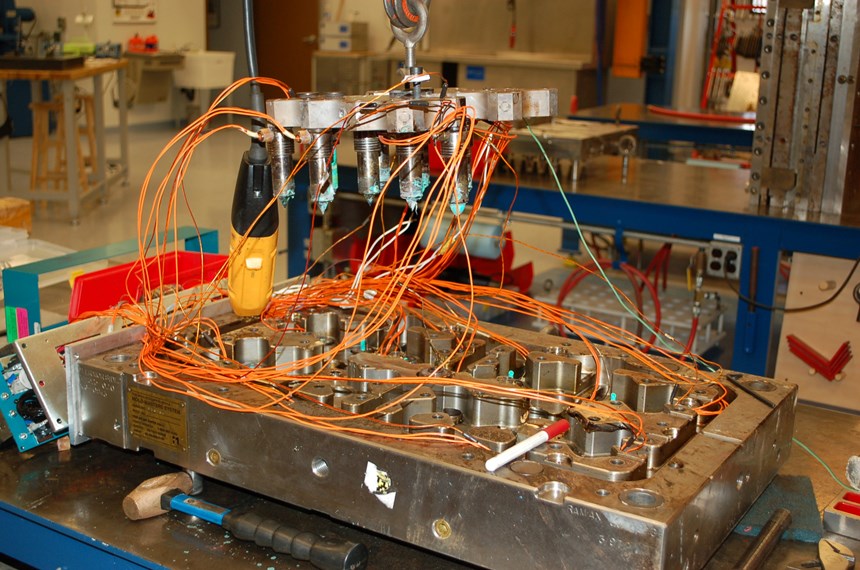
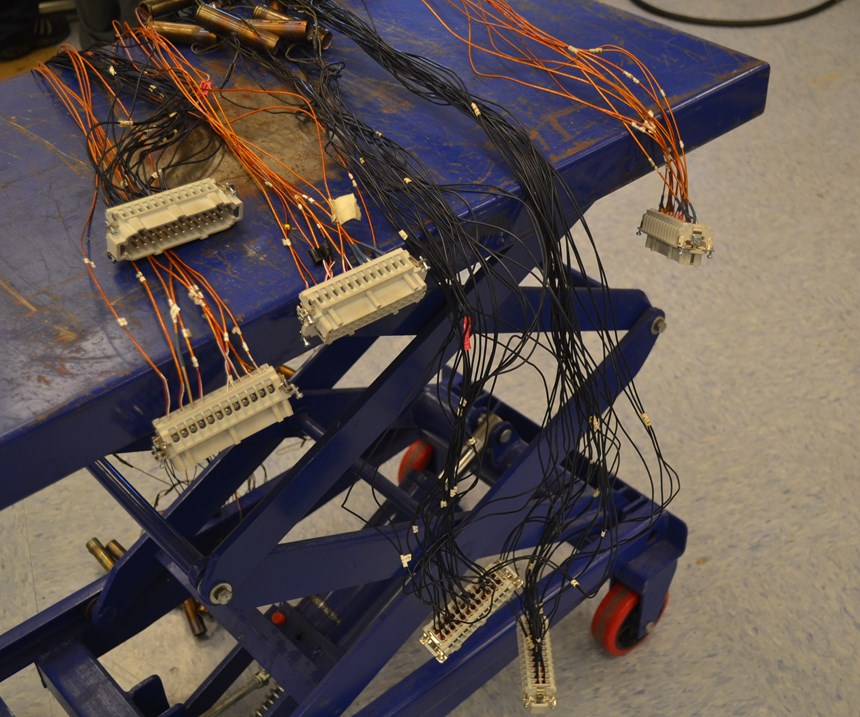
Technicians often complain about systems that require a complete teardown to replace a nozzle heater or thermocouple. This process results in lower cavitation, as molders cannot afford to have a mold down to regain one or two cavities. Fortunately, most manifold designs today front-load these components, which enables technicians to replace them in the press.
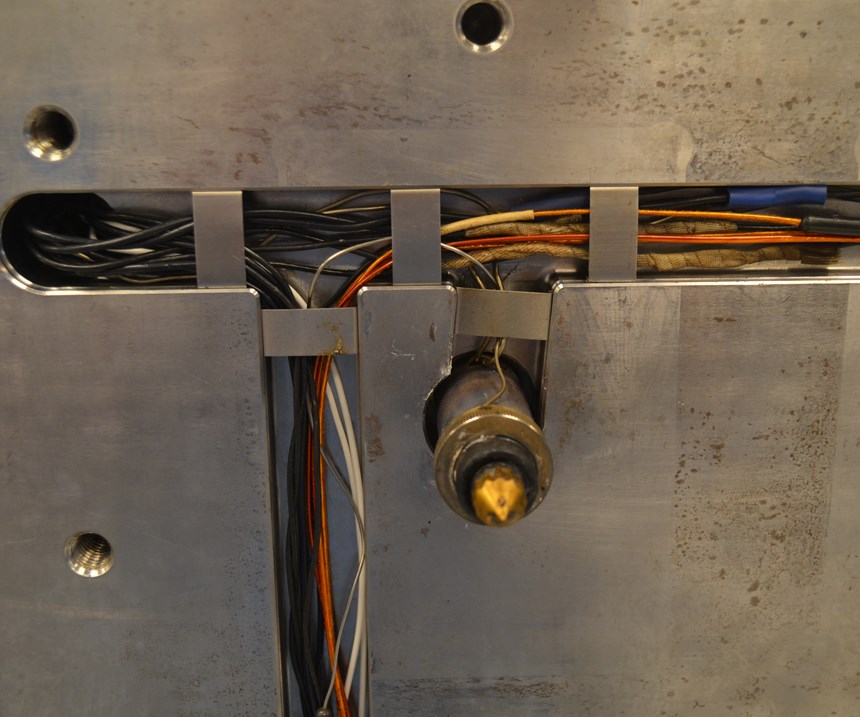
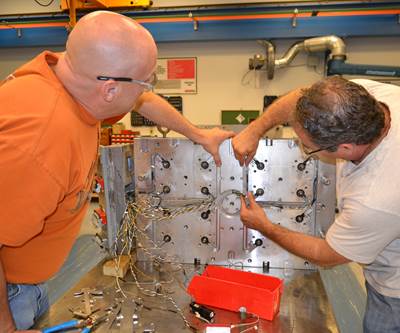
Often, disconnecting the wires at the control box and pulling them through the access holes to route through the plate is the most labor-intensive part of the PM process on molds with eight cavities or more. To avoid this, we recommend milling through the plates whenever possible, which allows the technician to wire-tie the wires together (still screwed into the connector strips), forming a unit or harness for removal and installation. We have seen this method knock off another four to eight hours and reduce the chance of damage to the connector screw or a mix up with the heater and thermocouple.
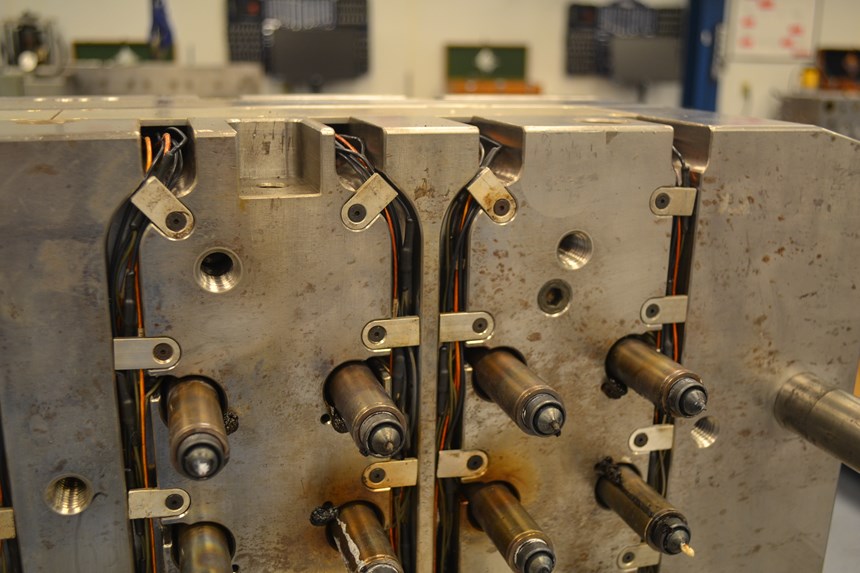
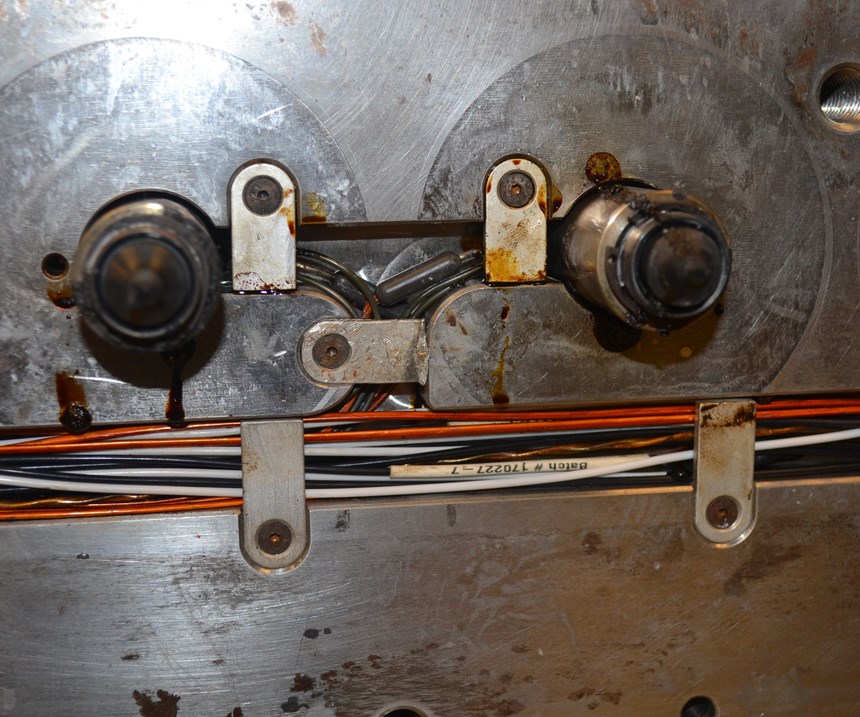
The use of clips to hold the wires that lead to the control box in wire channels that are “too small” is another design pet peeve of many technicians. The clips are individually screwed in, which makes the process of removing screws that are filled with residue or that are installed too tightly extremely time-consuming. Spring clips are a more efficient method.
Control Boxes
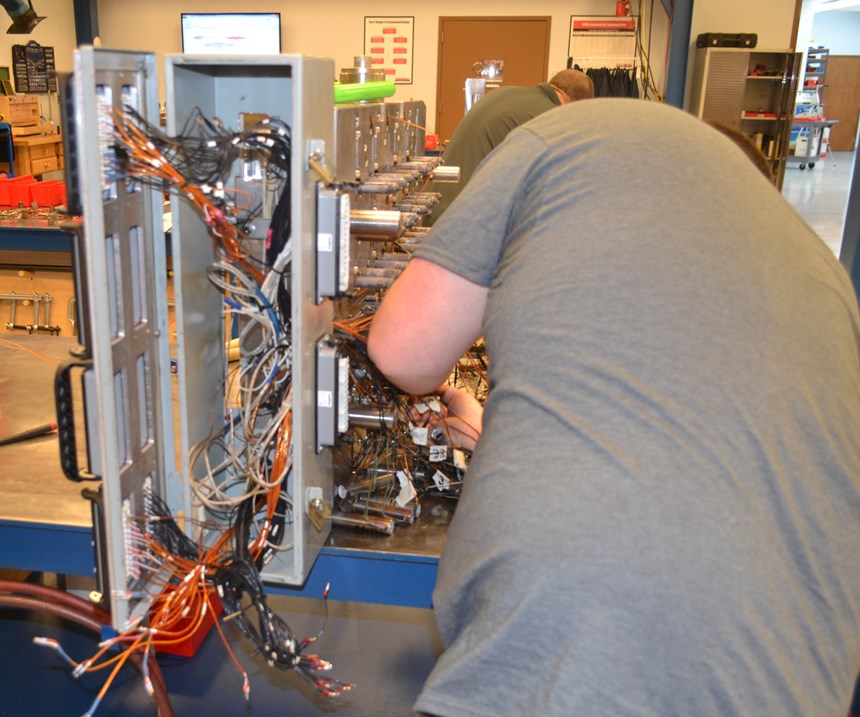
The design of the control box should enable the connectors to pass through the slots in the covers, ensuring that the connectors are part of the wiring harness. Otherwise, completely disconnecting all the wires is required. It is also helpful to hinge covers onto the control box, enabling them to swing open for easy access to the back of the connectors and to the mounting bolts.
We recommend mounting control boxes an inch from the plate as opposed to mounting them directly onto the plate. This method provides an air gap that allows vent residue to escape so that the gas does not coat the electrical connections inside the box.
We recommend mounting control boxes an inch from the plate as opposed to mounting them directly onto the plate.
Heaters and Thermocouples
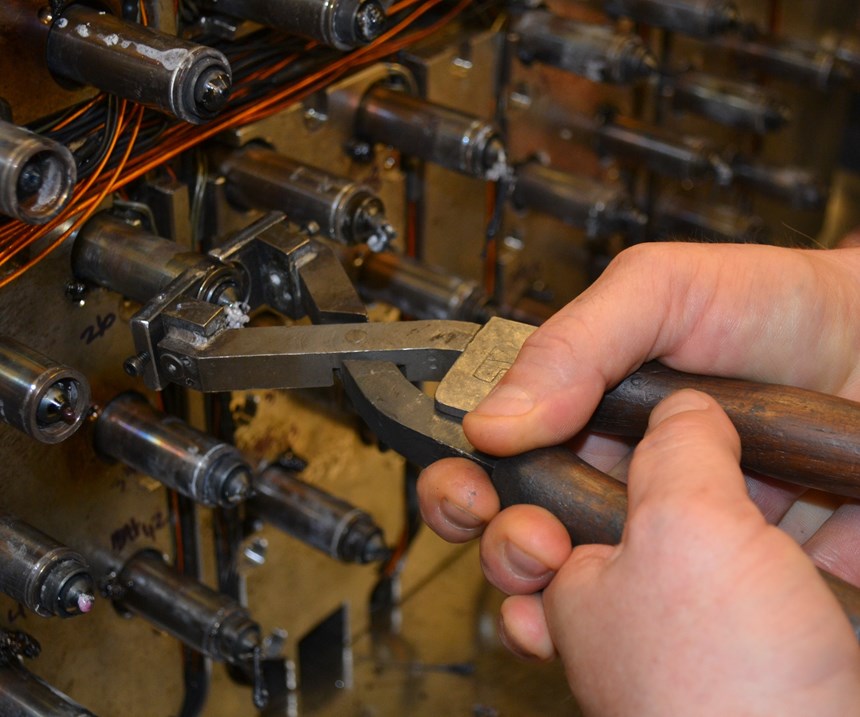
A full PM requires a technician to remove the nozzles, heaters and thermocouples to clean the manifold plates and the internal air and waterlines. This process can add hours to a PM program if the nozzles are not cleaned regularly and coated with a silicone anti-seize for easy release. Technicians will easily damage nozzle heaters and thermocouples that are stuck if they do not follow careful removal practices. A technician should place the removed heaters and thermocouples on a cart while they are still harnessed to the connectors. Then the technician should move them to a safe location away from the bench.
Some thermocouples are designed to run under the heater the full length of the nozzle, which requires difficult bends stuffed into tight pockets. Designs that are more maintenance-friendly route thermocouples outside the nozzle heaters, easing removal and installation.
Some manifolds have heaters that are integrated into the nozzles to yield better temperature control. From a maintenance perspective, this better be true because the trade-off is expensive. The entire nozzle must be replaced if the heater goes bad, and the removal, handling and cleaning is more tedious.
Bridges, Manifolds and Nozzles
Removing bridges, manifolds and nozzles from the plate assembly is not difficult when the manifold is designed with robust and evenly spaced eyebolt holes in which to lift. This also enables technicians to use an overhead hoist to help break the initial seal instead of relying solely on a pry bar. If using a pry bar, a technician can avoid tool marks and unnecessary damage by documenting the process, ensuring that the entire toolroom is aware of the exact spot to place the bar. With some manifold systems, this common practice requires heating up the manifold and bridge to about 250°F so that the plastic “spike” that forms between them breaks more easily.
Other systems have free-floating nozzles instead of nozzles that are bolted into their respective plate locations. The cold “spike” pulls the nozzles out when the technician removes the manifold. The spike also can fall and damage the tips. As technicians remove the manifold, it is imperative that they use short sections of rubber hose to protect the tips.
These manifold designs add extra labor hours and increase the risk of damage to manifold components. Repair shops with more skill are making simple modifications to manifold system designs to promote more frequent cleanings and to lessen the chance of expensive component replacement. However, most shops will not entertain these types of modification and struggle to perform PM on a manifold when it is long overdue. Others are stuck with poorly designed systems that wreak havoc on production schedules.
As hot runners continue to grow in popularity, technicians in our classes who run and maintain these systems on a daily basis hope that designers strongly consider more maintenance-friendly manifold designs to ease maintenance, prolong manifold life and meet production requirements.
About the Contributor
Steve Johnson
Steve Johnson is president of MoldTrax, which provides specialized course work, hands-on bench training, maintenance software, maintenance products, toolroom design and maintenance efficiency auditing.
Related Content
Four Micro Tooling Considerations
Issues involving gating, ejection, mold splits and direction of pull are of special concern when it comes to micro tooling.
Read MoreWhat You Need to Know About Hot Runner Systems and How to Optimize Their Performance
How to make the most out of the hot runner design, function and performance.
Read MoreWhat is Scientific Maintenance? Part 2
Part two of this three-part series explains specific data that toolrooms must collect, analyze and use to truly advance to a scientific maintenance culture where you can measure real data and drive decisions.
Read MoreBreaking Down 3D Scanning in Moldmaking
Identifying 3D scanning requirements and implementing the appropriate technology.
Read MoreRead Next
How to Set Accurate Manifold Preventive Maintenance Frequencies
Clearly setting accurate manifold preventive maintenance frequencies requires reliable comparative data on how a hot runner system performs over time.
Read MoreHow to Set Accurate Manifold Preventive-Maintenance Frequencies, Part 2
The key to developing accurate and timely PM work instructions is understanding the impact of environmental factors on manifold performance.
Read MoreReasons to Use Fiber Lasers for Mold Cleaning
Fiber lasers offer a simplicity, speed, control and portability, minimizing mold cleaning risks.
Read More


.jpg;maxWidth=300;quality=90)





.jpg;maxWidth=970;quality=90)