Mold Maintenance Refresher
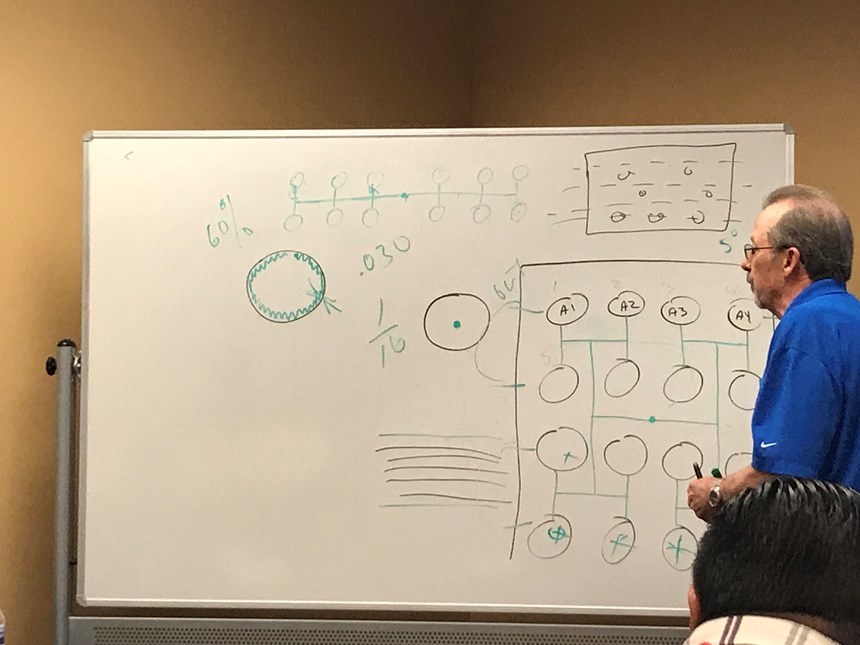
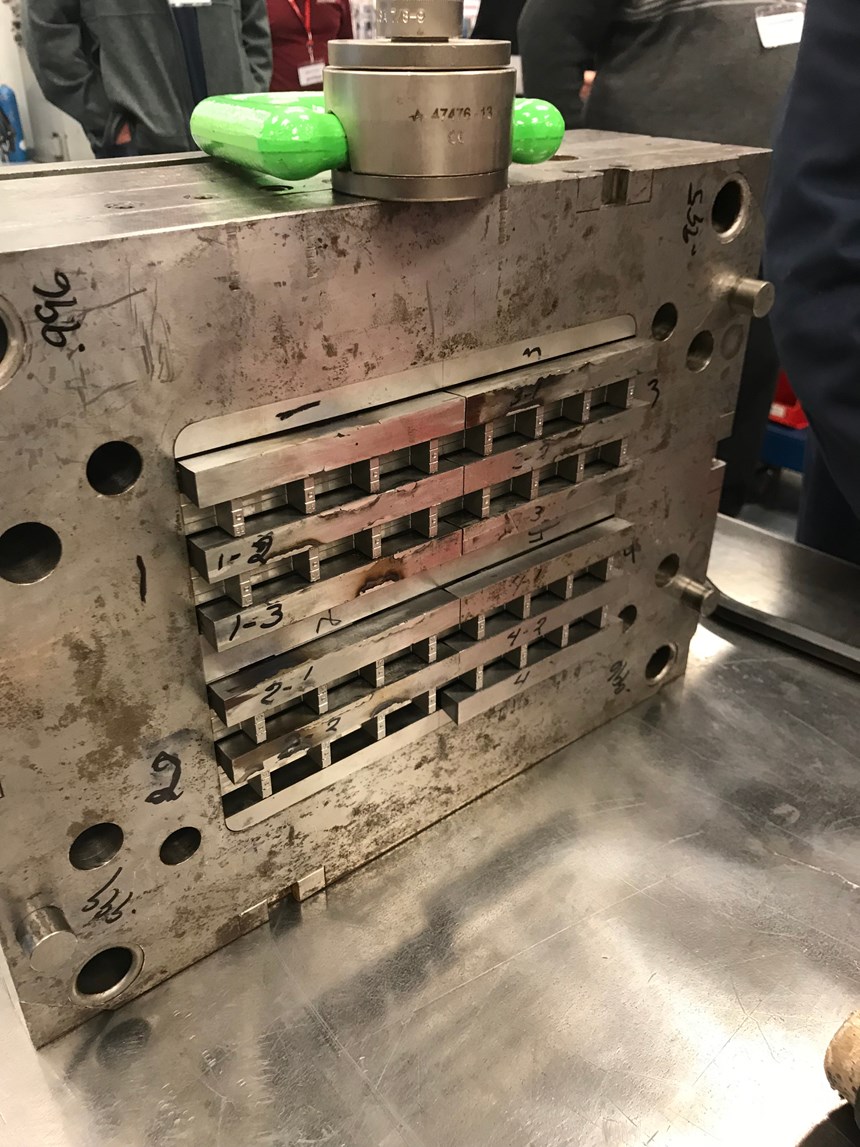
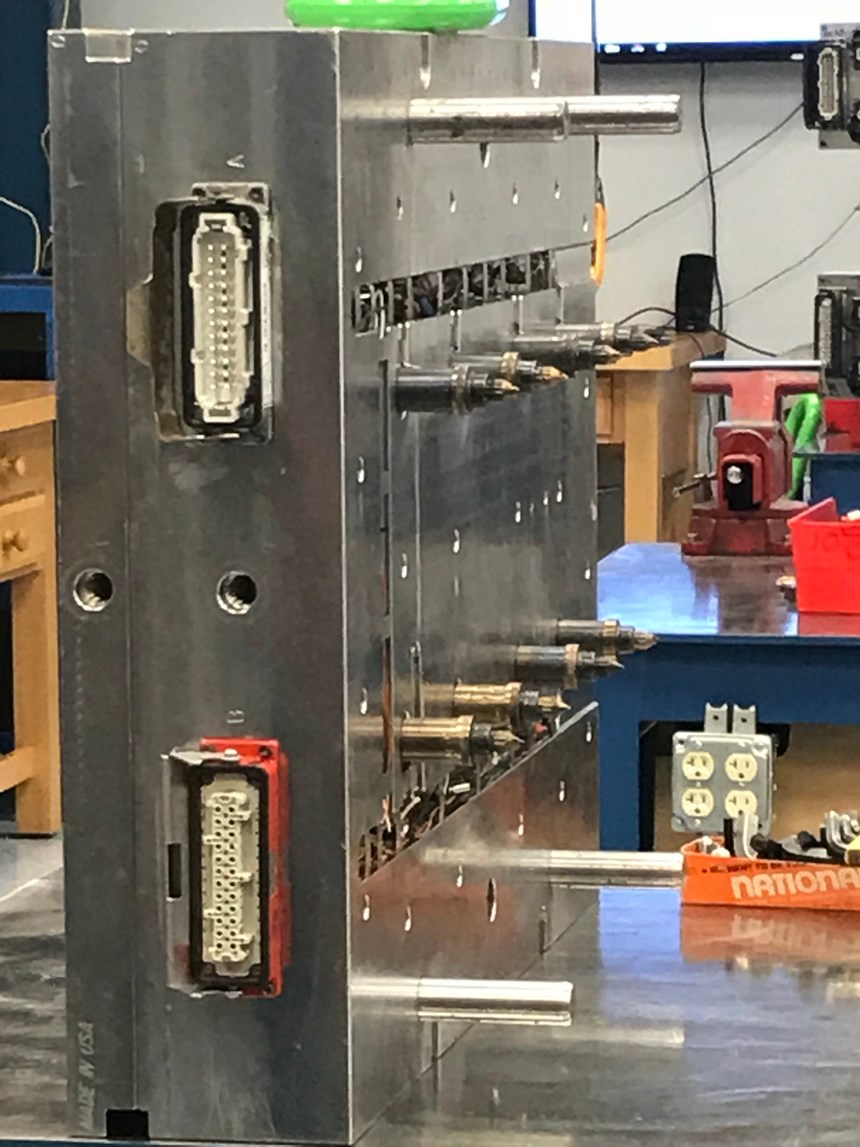
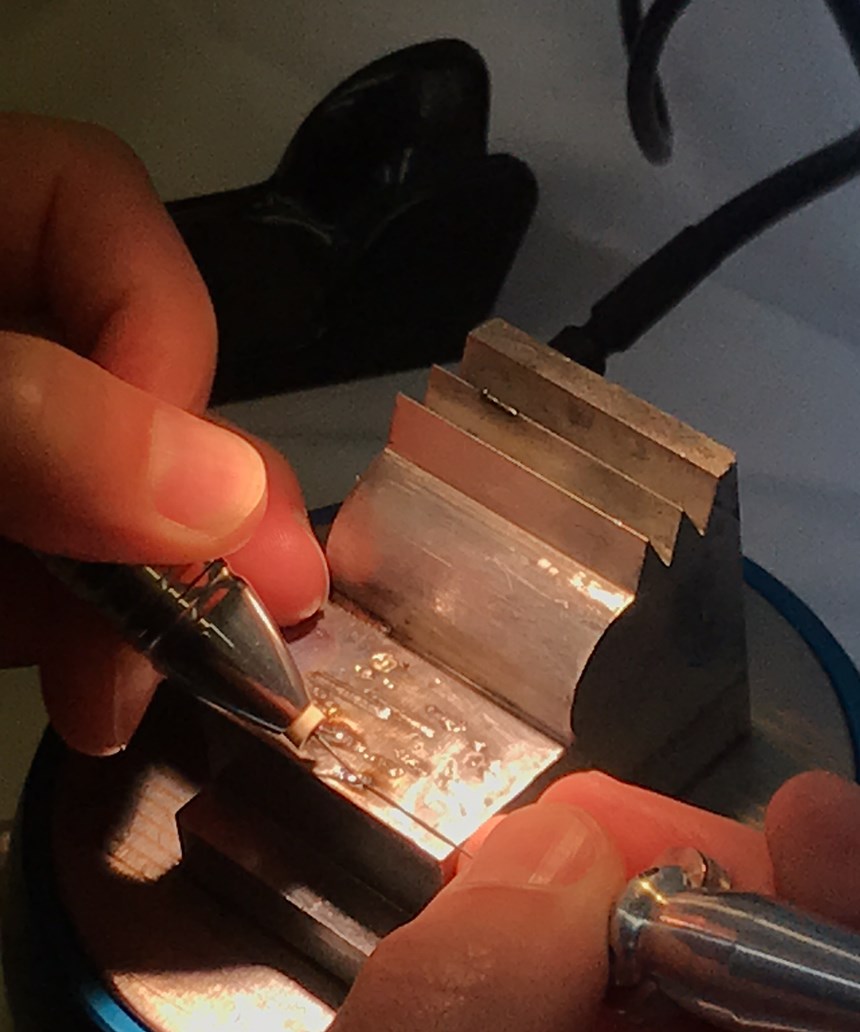
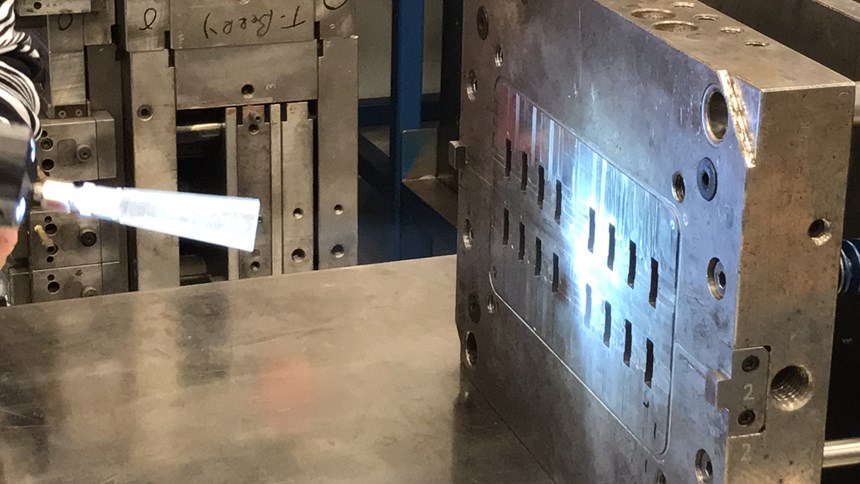
As I hit the road to attend a hot runner maintenance workshop this week, I’m reminded of my last maintenance-related education session. So, I thought I’d share some images and tips as a little refresher on what I learned.
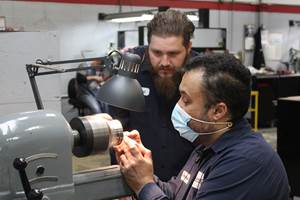
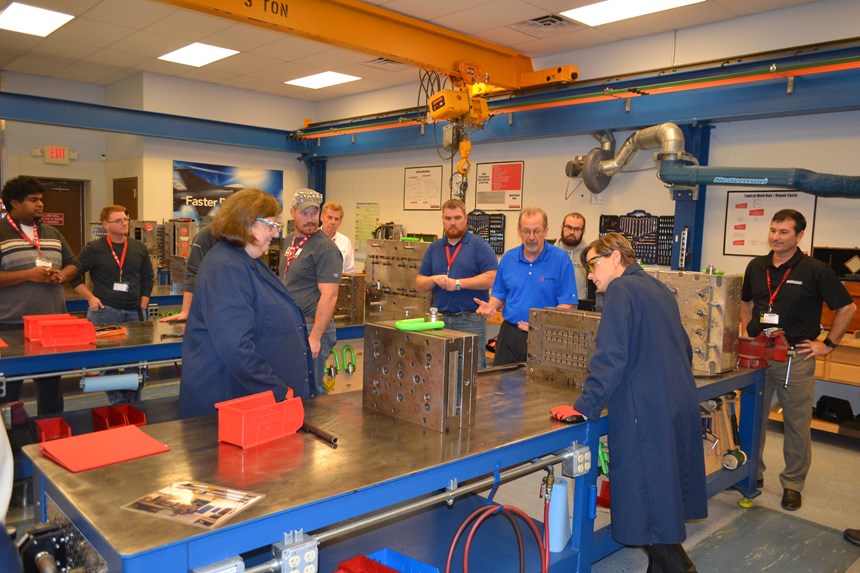
Mold maintenance requires getting your hands a little dirty, and that’s also a requirement if you truly want to benefit from mold maintenance training.
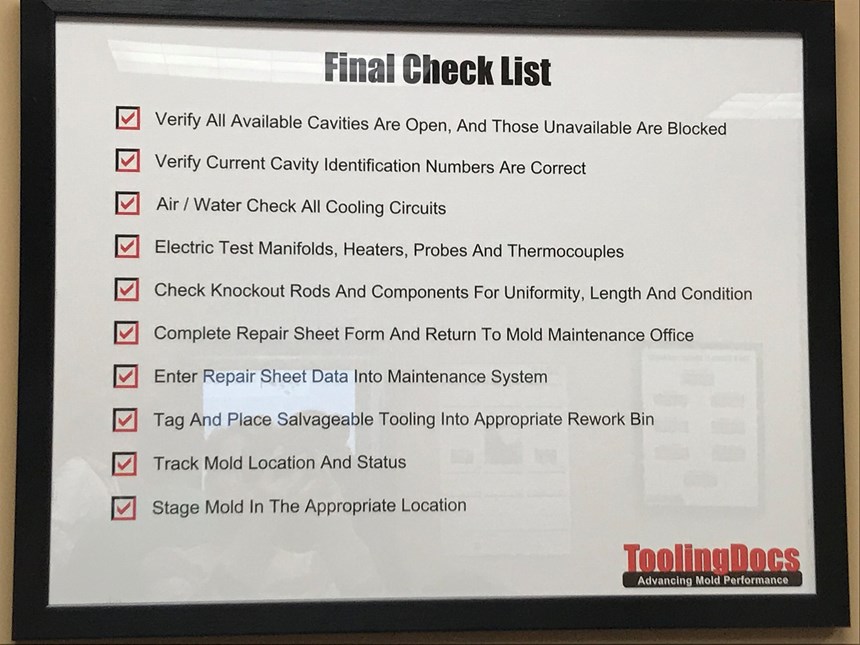
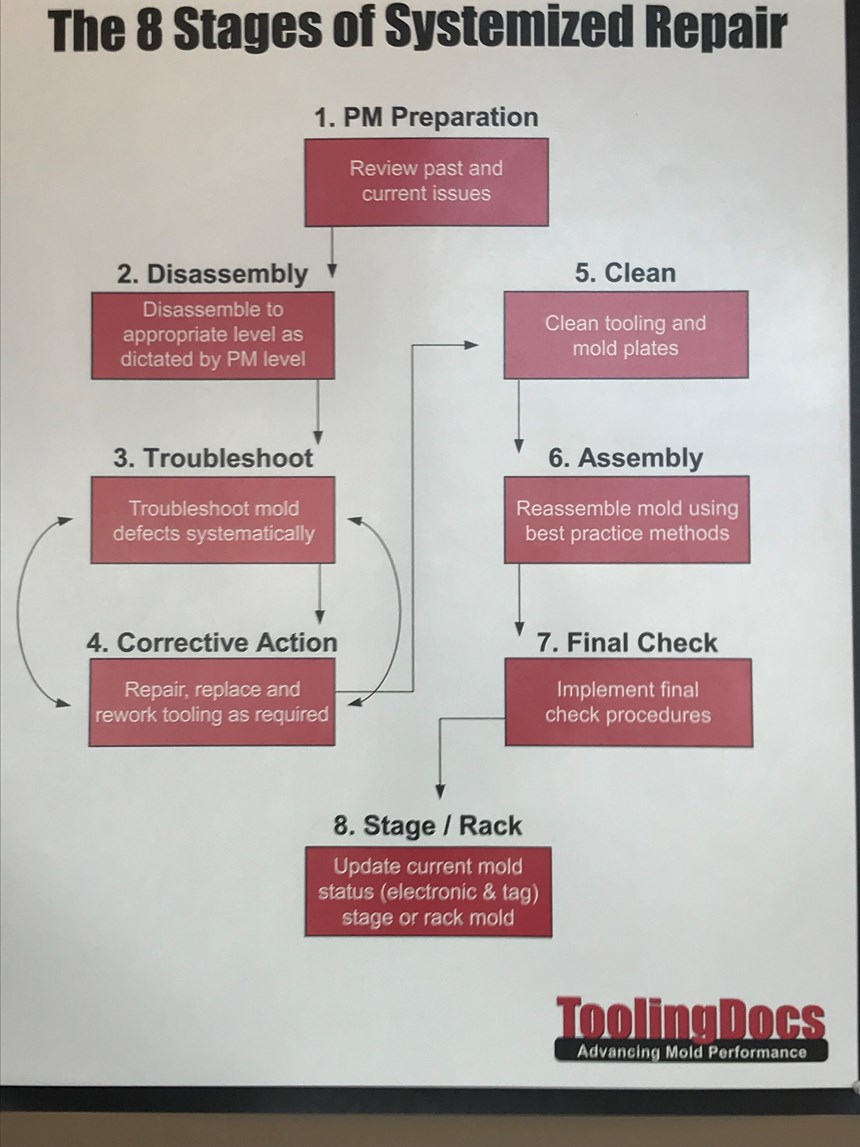
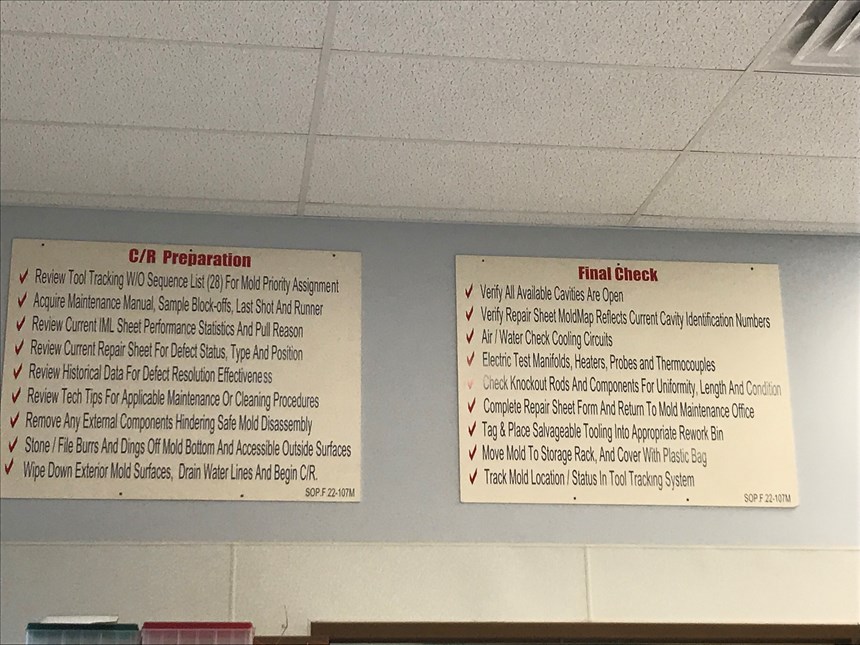
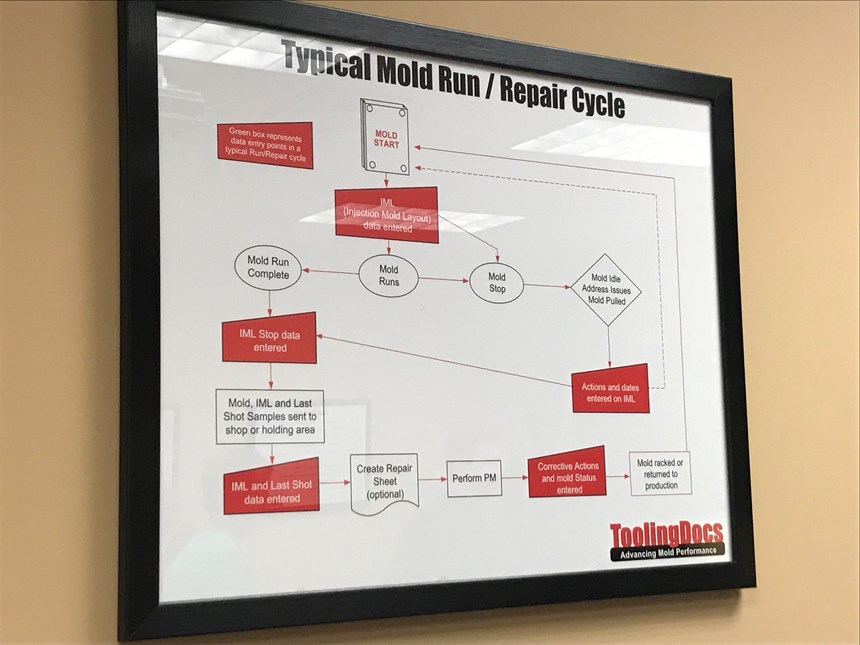
According to MoldTrax, mold maintenance consists of eight stages of systemized repair: PM preparation, disassembly, troubleshoot, correction action, clean, assembly, final check, and stage/rack. Each of these stages can be broken down into ten vital steps. For example, Final check:
- Verify all available cavities are open, and those unavailable are blocked
- Verify current cavity identification numbers are correct
- Air/water check all cooling circuits
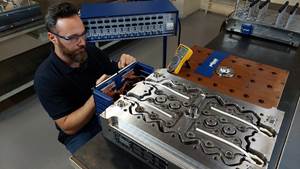
- Electric test manifolds, heaters, probes and thermocouples
- Check knockout rods and components for uniformity, length, and condition
- Complete repair sheet form and return to the mold maintenance office
- Enter repair sheet data into the maintenance system
- Tag and place salvageable tooling into appropriate rework bin
- Track mold location and status
- Stage mold in the appropriate location
Each stage has its own setup steps to follow. Here are tips for how to tackle various aspects of the 10 steps.
Mold Design
- Plastic parts are getting more complex (more detail, functionality and specialized plastic materials), simplify part design and use standardized mold components when possible to reduce costs and lead time.
- Gate location and gate type is the most important consideration for any injection mold.
- Use software to simulate the result of gate location and note what happens when you change gate type and location.
- More gates always result in more weld lines.
- If at all possible, use only one gate.
Processing
- Look at plastic through the eyes of a process engineer. Simplify the process and establish process outputs that correlate to an acceptable part.
- Ensure the best mold quote by presenting the moldmaker with a model of the part that you wish to produce. Identify critical features and dimensions so that the mold can be constructed to accommodate.
- Scientific molding is simply short shot molding—shifting from velocity to pressure when the mold is filled 90-95 percent.
- Match the outputs of the process to yield the same part every time. Perfect process outputs equals a repeatable part.
- Use a setup sheet and capture process outputs. Revise your existing setup sheet to include process outputs. This will ensure part consistency.
Venting
- You can never over vent an injection mold.
- Vent everywhere—sprue and runners, inserts, and cores, ejector pins and blades, slides and lifters.
- Be certain that you are venting to atmosphere and relieve pass the seal-off area. Utilize the correct vent depth to avoid flash.
- Always check clamp tonnage. Determine when the part flashes by dropping tonnage. Once the part starts to flash, add 10 percent to accommodate process variation.
- With poor venting, the vents will begin to build up residue. In extreme cases when the entrapped gas cannot get out, you’ll experience dieseling (explosion).
Tonnage
- Determine minimum tonnage and add 10 percent for variation. This will maximize venting effectiveness.
- Measure tie bar stretch with family molds to see if it is even and to determine if tonnage is affecting the press/machine (not just mold).
- Use dial indicator and measure the stretch of all four tie bars.
- Understand mold size and tonnage, or you will damage the toggle mechanism. The footprint of the mold is important. Too little and you will damage the platens. Too big and you may damage the toggle.
Maintenance
- Every mold has a weakness. Create a PM plan around that weakness.
- No more duct tape maintenance books or files of work orders. Today proper mold maintenance requires software.
- Share knowledge to maintain repair and maintenance consistency
- Avoid under or over maintenance. PM mode is replacing things at a certain number when that number comes up. That’s good as long as that number is right.
- Following the eight stages of PM: preparation, disassembly, troubleshoot, corrective action, clean, assembly, final check, and stage/rack.
- Follow the system. Cleaning is number five for a reason: you are wiping away all the clues, which will make it difficult to troubleshoot.
- Clean cooling channels.
- Chart mold wear to help create a PM plan.
- Doing a mold positional analysis to remedy runner imbalance (lineal vs. rheological balance)
- Always look for wear defects.
- Identify the controlling features of each mold.
- Determine where your maintenance dollars are going.
- Collect data points at the press to identify root causes.
- Use data to convince someone in the corner office that you want to improve efficiency.
- Don’t use brass or aluminum hammers during assembly because they chip.
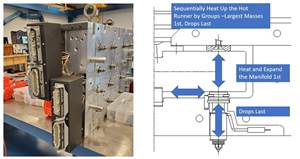
- Listen to your hot runner. Look for cable issues, loose pins/damaged cables, gate insert problems, and incorrect flow.
- Check tip “l” heights (distance from the front of the manifold plate to the top of the tip) because short tips cause a temperature increase.
- Check hot tip systems as tips erode.
- Follow the proper start up and shut down procedure (waiting for the hot runner to soak out; 30 minutes or so.
Related Content
The Ins and Outs of Hot Runner Temperature Control
A training checklist that explains the why and how of proper hot runner temperature control and system management.
Read MoreHands-on Workshop Teaches Mold Maintenance Process
Intensive workshop teaches the process of mold maintenance to help put an end to the firefighting culture of many toolrooms.
Read More5 Hot Runner Tips for Moldmakers and Molders
Best practices for initial hot runner tryouts and effective preventive maintenance.
Read MoreQuestions and Considerations Before Sending Your Mold Out for Service
Communication is essential for proper polishing, hot runner manifold cleaning, mold repair, laser engraving and laser welding services.
Read MoreRead Next
Reasons to Use Fiber Lasers for Mold Cleaning
Fiber lasers offer a simplicity, speed, control and portability, minimizing mold cleaning risks.
Read MoreHow to Use Strategic Planning Tools, Data to Manage the Human Side of Business
Q&A with Marion Wells, MMT EAB member and founder of Human Asset Management.
Read MoreAre You a Moldmaker Considering 3D Printing? Consider the 3D Printing Workshop at NPE2024
Presentations will cover 3D printing for mold tooling, material innovation, product development, bridge production and full-scale, high-volume additive manufacturing.
Read More



.jpg;maxWidth=300;quality=90)


