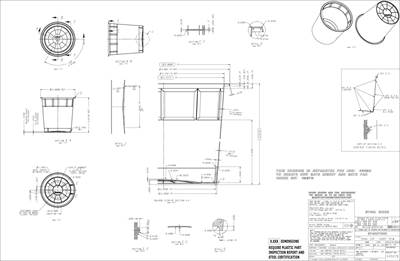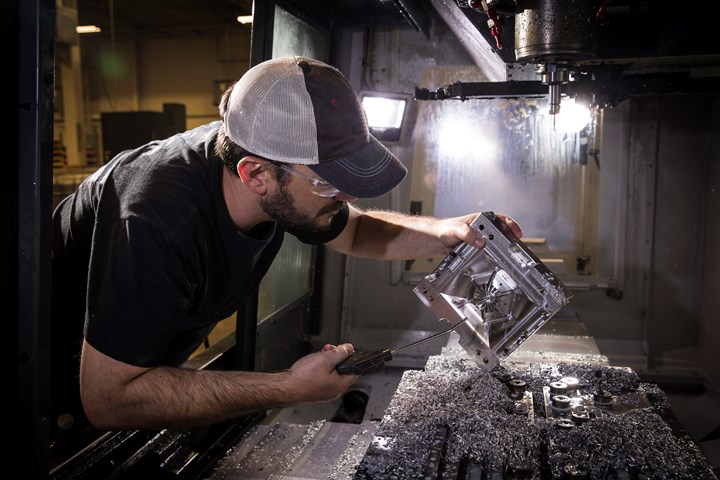
It’s critical to keep in mind how your 3D-printed design translates to injection molding for both manufacturability and cost. Photo Credit, all images: Protolabs Inc.
Ten years ago, there was a broadly accepted and well-defined route that a product developer might travel to take a product from concept to actual part. Generally, that path would include 2D and 3D drawings of the components and their assembly, which would go through various prototyping stages in low-cost, low-volume manufacturing methods such as CNC machining or cast urethane molding. Then, the design would go into a more robust prototype rapid-tooling process and finally off to production.
Today, this is still a common and viable route, but thanks to technological advances in 3D printing materials and processes over the last decade, product developers now have far more real-world, engineering-grade options to consolidate and accelerate the early stages of product development. This has been a game changer for tech innovators over the years, but it also features some potential hidden pitfalls.
Virtually all moldable parts can be printed — but that isn’t true the other way around.
While injection molding remains the undisputed champion of high-volume plastics manufacturing — and is likely to hold that position for the foreseeable future — 3D printing is rapidly making up ground in early stage plastics manufacturing. Due to the different manufacturability constraints that exist with each respective process, part designers and molders can sometimes experience a disconnect between where they are in the process and how they want to manufacture a part.
When comparing potential manufacturing processes against criteria like price and lead time, there are many things to keep in mind. Each process requires different processing times, different types of materials and, most importantly, different part design requirements and considerations. This article specifically covers part design cost drivers. But first, let’s talk about a common cross-process design challenge that we ourselves see every day as one of the world’s largest injection mold manufacturers.
Designing for Moldability: A Cautionary Tale
Dexter is an engineer. He has an ingenious design solution to combine a five-part housing into two parts and save hundreds of thousands of dollars on tooling costs in production. Dexter designs the parts and sends them to his favorite 3D printing company to print the parts in selective laser sintering (SLS) so he can do fit/form/function testing prior to tooling up the parts. When he receives his shipment, he’s ecstatic to find that his parts work wonderfully and should be a perfect functional solution to his design problem.
Now that he’s ready to start moving into tooling stages, he quotes the parts for injection molding and bam! He’s told none of them is moldable. Dexter hangs his head in shame, walks back to his desk and starts to redesign the parts for moldability. This all-too-familiar tale represents the first of the four major cost drivers that this article will lay out. It is also arguably a root cause for many other cost drivers as well.
Keep in mind that 3D printing has far fewer design constraints than injection molding.
Not Starting With the Process in Mind
Dexter started with the solution in mind but didn’t consider the process. As 3D printing has become more and more popular — for good reason — many product developers are implementing it in stages that previously may have been completed in a different process. This is perfectly fine — if you keep in mind that 3D printing has far fewer design constraints than injection molding.
The solution is to start by designing your part for molding, then take those moldable part designs and print them. Virtually all moldable parts can be printed — but that isn’t true the other way around. When you try to mold a part designed exclusively for 3D printing, your best-case scenario is that the manufacturer probably had to include many costly mechanical components in the mold in order to accomplish it. The worst-case scenario is that it just can’t be done.
Mold Base Size
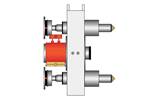
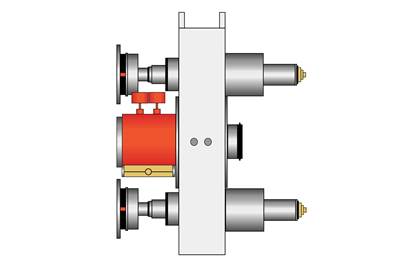
Our second cost driver is the base size of the mold. This is a common point of confusion in the manufacturing process, as it isn’t always evident how large or small the mold base is. For example, you might be able to make a 1 × 1 inch (25.4 × 25.4 millimeter) part in a straight-pull mold within a 4 × 4 inch (101.6 × 101.6 millimeter) mold base. Add an undercut to that part, requiring a side-action cam in the mold, and suddenly you might be into a 10 × 10 inch (254 × 254 millimeter) or larger mold base. In this case, base size and componentry drive mold cost. A single side action might add more than $1,500 to the mold cost, so you should use design best practices, such as pass-through cores, to help you save on space and components.
Internal Componentry
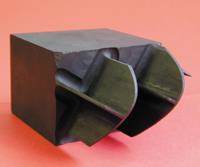
We touched on this in our first two cost drivers, but outside of poor design and mold size, internal componentry is the key cost driver in an injection mold. What types of internal componentry? As we previously discussed, side-action cams are an obvious example in this department. Some other examples of potential internal componentry include pick-out inserts, bolt-in inserts or steel core pins. Cams or inserts will typically increase your overall mold price by $1,000 to $2,000 per component, so keep that in mind in your designs.
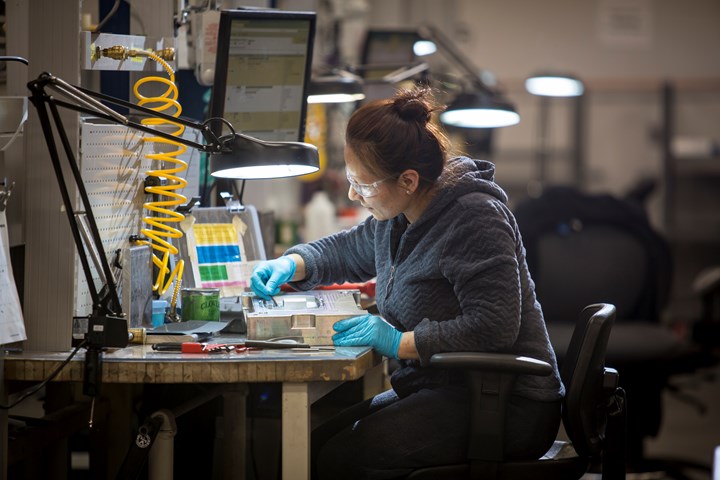
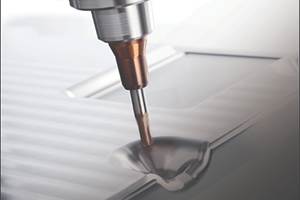
Custom mold finishing helps bring cosmetic enhancements to molded parts.
Polish or Custom Finishing
Our last cost driver is polish or custom finishing for the mold. Most manufacturers will offer a range of finishes to choose from for your tools, including in-house, SPI or Mold-Tech equivalent, and they all have varying degrees of additional costs associated with them. In-house finishes will usually be the cheapest and are sometimes automated or come with the tool as milled.
When you try to mold a part exclusively designed for 3D printing, your best-case scenario is that many costly mechanical components were added to the mold. The worst-case scenario is that it just can’t be done.
These are great for prototype parts to test fit/form/function but might not carry the aesthetic properties needed for a production part. SPI- or Mold-Tech-equivalent finishes tend to be more expensive, so a good way to save time and cost is to wait to put these cosmetic finishes on the mold until after your design is finalized. Follow these tips, and you’re ready for production, regardless of whether and how you utilize additive manufacturing (AM) in developing your injection molding part and process.
Updated and republished from Plastics Technology.
Related Content
Advantages and Disadvantages of Copper and Graphite Electrodes
Both copper and graphite provide approximately the same end result, so it is important for a shop to consider the advantages and disadvantages of each material in order to discover what would work best in their shop floor environment.
Read MoreThe Ins and Outs of Hot Runner Temperature Control
A training checklist that explains the why and how of proper hot runner temperature control and system management.
Read MoreMaintaining a Wire EDM Machine
To achieve the ultimate capability and level of productivity from your wire EDM on a consistent, repeatable and reliable basis, regular maintenance is a required task.
Read MoreMoldmakers Deserve a Total Production Solution
Stability, spindle speed and software are essential consideration for your moldmaking machine tool.
Read MoreRead Next
It Starts With the Part: A Plastic Part Checklist Ensures Good Mold Design
All successful mold build projects start with examining the part to be molded to ensure it is moldable and will meet the customers' production objectives.
Read MoreDesign Your Tools for Moldability... and Maintenance
In the initial design phase, when considering the structure and elements of the tool, are you designing them to be maintenance friendly? Canon Virginia has used this approach and preventive maintenance to make tool replacement a thing of the past. You can, too. Here’s how.
Read MoreAre You a Moldmaker Considering 3D Printing? Consider the 3D Printing Workshop at NPE2024
Presentations will cover 3D printing for mold tooling, material innovation, product development, bridge production and full-scale, high-volume additive manufacturing.
Read More


