Multi-Level Inspection Yields Valuable, Data-Driven Results
Advanced inspection technologies are as central to the operations of Matrix Tooling Inc. as machining.
Matrix Tooling, Inc. / Matrix Plastic Products in Wood Dale, Illinois, continue to push the envelope on their in-house inspection and measurement capabilities that they need to serve their mostly original equipment manufacturer customers. According to Gary Johansson, vice president—quality/regulatory, it’s essential to provide comprehensive, data-driven quality assurance services to not only verify quickly the work being performed, but also to build customer trust in Matrix.
“We realized early on that if we could provide our customers with multiple levels of inspection and SPC data they would eagerly welcome it, and they did,” Johansson says. “Checking the steel against the ‘critical-to-function’ features identified by our customer’s data during the mold build is just the beginning.”
Matrix also designs and builds the fixtures for performing an assortment of pre-production and production inspections, including first-piece inspections (which reviews the first shot off the new tool during operational qualification, or OQ); gage R&R studies (which establishes repeatability and reproducibility of the inspection system); capability studies (which establishes process Cpk/Ppk); in-process inspections (which monitor part conformance during production); and first article inspections (which are comprehensive, 100 percent inspections that can involve 200 dimensions or more).
“There are a lot of firms out there that just do inspection, and that’s fine, but having design, moldmaking, production and these quality capabilities all under one roof is critical to our ability to detect and react very quickly to an issue and either fix it or go to the customer and say, ‘this is an issue, what’s our next step,’” Johansson says.
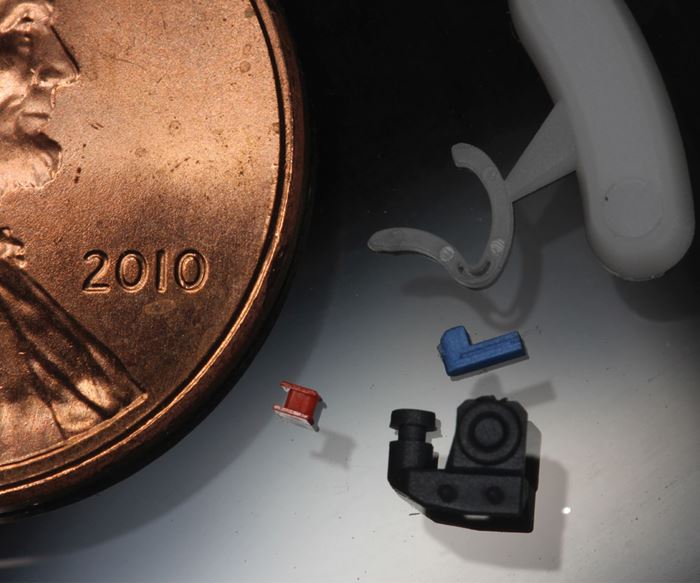
Matrix, founded in 1978, specializes in mold design, mold building, production molding and quality assurance, particularly for customers who need extremely small, intricate plastic parts. Medical device companies make up about 80 percent of the business, with the balance serving the safety, electronics and consumer products industries. The company operates out of a 30,000-square-foot facility with 90 employees, eight of whom work in quality and inspection.
Making Inspection Essential
Matrix has maintained ISO 9001 quality certification since 1999, and added dual certification to ISO 13485 in 2010. While one would still find standard inspection equipment, like coordinate measuring machines, shadowgraphs, micrometers, drop gauges and indicators in the mold shop, it is Matrix’s advanced inspection technology that plays a key role in its operations, impacting almost every process performed from design to production. For example, Johansson says the company acquired its CGI CSS-1000 cross-sectional scanner (a patented inspection technology by CGI of Eden Prairie, Minnesota) in 2007, which significantly advanced Matrix’s first-article-inspection (FAI) capabilities.
Johansson likens CSS to rapid prototyping, only in reverse. “We can take a part off the press, set it in epoxy, block and cure it for eight to nine hours, then put it into the CSS where it’s gradually deconstructed, layer by layer, as it is machined and scanned. Throughout the process, cross-sectional images are collected,” he says. In another four or five hours, the CSS has created a comprehensive point cloud that contains every part surface, internal and external; then color mapping and other processes are performed to create the FAI report—all in a day or two, he says.
A project may require CT scanning technology. This industrial computed tomography uses X-ray technology to capture the same cross-sectional data as the CSS but in just a couple of hours. In this case, Johansson says that Matrix subcontracts that quick X-ray work out to an approved source. Matrix works closely with CT scanner manufacturers, and it embraces the idea of having this technology in-house as soon as the workload justifies the purchase. This is the next significant investment in quality assurance technology that Matrix plans to make.
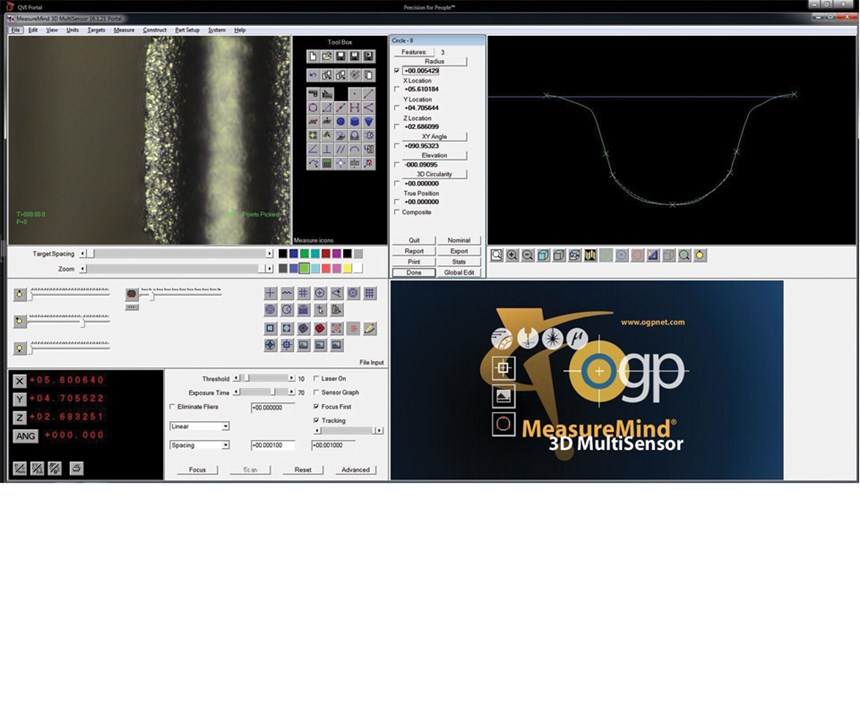
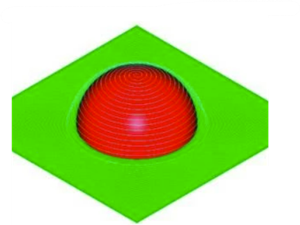
Matrix’s most recent inspection equipment purchase was the addition of a fourth multi-sensor metrology machine from Optical Gaging Products (OGP) of Rochester, New York. All four of these units can perform both vision inspection which uses a camera to image a part and then measure the resulting image; and touch probe inspection which uses the probe, or detector, to “sense” the part by touching it and then measuring it. Two of the machines have additional laser capabilities. Laser scanners pick up on light reflecting off the surface being measured, using optics and detectors to create a surface profile. “We can now laser surfaces that we couldn’t detect with vision or touch probe,” Johansson says, offering as an example a laser scan he did of a penny. “When you look at the laser scan it’s absolutely incredible. You can pick points on that laser scan and get dimensions. I can tell you, for instance, that the height of Abraham Lincoln’s nose, from the background of the penny, is about 0.0014 to 0.0015 inch,” he says.
“Having this caliber of inspection capability is crucial because it impacts every level of our inspection protocol,” Johansson says. “For process validations, everything’s based on the critical-to-function, or control features, that have to be tracked and meet a Cpk of 1.33 or 1.67.” He notes that some customers want a preliminary first article inspection report right away in order to verify how close everything is so that they don’t go into the IQ/OQ/PQ process validation with a part that may be out of spec. “But an FAI is comprehensive,” he says, “so we’re using data collected by our OGP touch probes and vision systems that includes all dimensions, critical or not.”
For example, during a preliminary First Article Inspection (FAI), Matrix may discover some “non-critical” part features that are slightly out of print specification. When that occurs, the customer can review the report and decide to either have Matrix correct the steel or simply make a print nominal/tolerance change to put those results in tolerance and have a clean FAI report. Next, the mold goes into process validations, where a molding area diagram, also known as a four-corner study, is created by testing the molding process parameters to determine their limits.
“We’re challenging the molding process parameters, so we know what the limits will be for highest pressure, highest heat, lowest pressure and lowest heat settings that still yield good parts that are within spec,” Johansson explains. “Following the process validation, the gage R&R study confirms inspection fixture, instrument and inspector accuracy, repeatability and reproducibility. In other words, it provides proof that your measurement system, including your QA staff, is capable of inspecting product with extreme accuracy, repeatedly.” Once all the data collected from the process validations and other various inspections translates to approving the part for production, Matrix will monitor those critical-to-function features for the life of the tool or the life of that part.
Applying Inspection in the Shop
During the mold design phase of a project, Matrix designers use inspection to help them zero in on areas of concern, Johansson says. For example, a designer may find some very tough geometry that he or she should inspect right away. Or, an employee in the company’s molding division, Matrix Plastic Products, may say that because of the processes they use, a certain part detail may not meet specifications, so the employee needs to check it out. “It all begins with prints from our customers and those critical-to-function features,” he says. When the designers design the tool, and moldmakers build it, they are looking at those dimensions. They even inspect the steel. “Before we’re making a part, we’re making sure the steel that is going to create those features in the plastic part is correct,” he explains. “We do a lot of steel inspection confirmations either in the quality lab or out on the shop floor.”
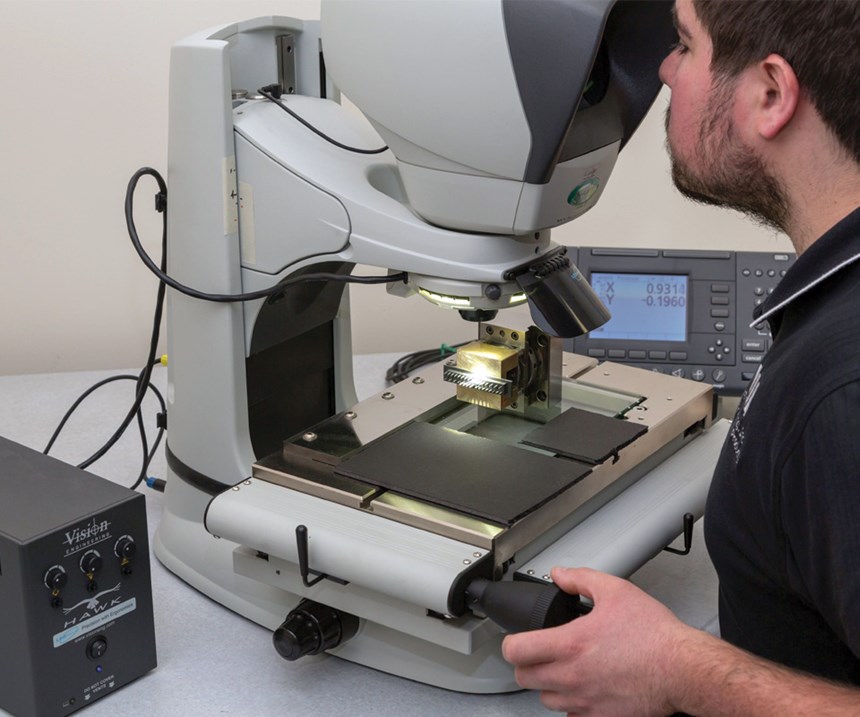
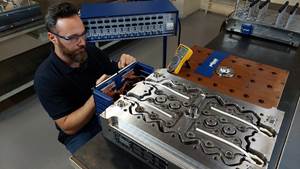
Johansson says that because so many of the final internal-assembly part geometries Matrix works with have unusual, complicated shapes and inconsistent radii, it is critical to be able to inspect the corresponding electrodes that create those geometries in-process. A Vision Engineering Hawk Elite Dynascope positioned near Matrix’s electrode machining area allows the company’s CAM department to verify the electrodes’ accuracy using three-axis, non-contact measuring. Matrix employees perform this prior to burning the electrode details into steel on their four EDM machines. Additionally, all toolmakers are responsible for inspecting the pieces and details they machine, whether it’s grinding, milling and grinding, or post-heat treating and so on. To do this, Johansson says they use shadowgraphs, microscopes, micrometers and indicators on the shop floor. Anything that can’t be handled there is inspected in the QA lab. “We also inspect the steel cores and cavities using the OGPs in our lab to make sure that those critical-to-function features are correct—at least correct in steel,” he adds.
Meanwhile, Matrix continues to ramp up its use of cameras and lasers on the shop floor by integrating them at the molding presses and enhancing in-line inspection of parts as the parts move down the conveyors. “Whenever possible, we are looking at reducing our reliance on the human factor and using technology to create instant and accurate feedback to our process engineers and QA staff about product conformance to the customer’s standards,” Johansson says.
Inspecting Highly Complex Work
As a Tier-One or Tier-Two supplier for most of its customers, Matrix often takes on work that other shops can’t handle. For example, Johansson says Matrix is building a basic mold to hold 300 to 400 mold components, each with toothbrush-head cavities in it to create the heads of the toothbrushes. A robot facilitates swapping out the mold components during production, he says. “There are more than 1,400 dimensions on each component that must be 100 percent inspected after machining to verify tolerances, which are extremely tight at ±0.0005 inch and ±0.0002 inch,” he says. “All those fits have to be absolutely perfect because you have toothbrush heads that have to line up with toothbrush necks, and on a toothbrush, any mismatch is a reject because the consumer will feel that when brushing his or her teeth.”
Johansson says that using the OGP’s vision, touch-probe and laser scanning capabilities, he has the inspection process down from five hours (10 years ago) to 15 minutes. The process uses macros to quickly and easily transfer the data collected from the machine to a statistical process control program and then generates reports in a fraction of the time it used to take. “We’re able to collect even more data now than we used to, and we’ve gotten to the point with some of our customers that our parts are dock-to-stock. They don’t do any incoming inspections on them. The parts come in from Matrix and they go right to their inventory, saving them a lot of time and money.” he says. “We’re committed. This company has never shied away from technology. We understand that if you want to keep the high-quality work coming in and stay out of reach from the competition you’ve got to have better equipment than the competition.”
Related Content
5 Hot Runner Tips for Moldmakers and Molders
Best practices for initial hot runner tryouts and effective preventive maintenance.
Read MoreWhat Is Scientific Maintenance? Part 1
Part one of this three-part series explains how to create a scientific maintenance plan based on a toolroom’s current data collection and usage.
Read MoreThink Safety: Eliminate Hazards Throughout the Shop
The tooling community is taking advantage of new products for safer mold shops and molding facilities.
Read MoreRead Next
Leadtime Leader Q&A: Inspection and Measurement
Moldmaking Technology's 2016 Leadtime Leaders share their views on inspection and measurement.
Read MoreData-Driven Quality Control
Enhanced metrology technologies can help streamline mold scanning and inspection.
Read MoreReasons to Use Fiber Lasers for Mold Cleaning
Fiber lasers offer a simplicity, speed, control and portability, minimizing mold cleaning risks.
Read More
